- Essentials
- Getting Started
- Datadog
- Datadog Site
- DevSecOps
- Serverless for AWS Lambda
- Agent
- Integrations
- Containers
- Dashboards
- Monitors
- Logs
- APM Tracing
- Profiler
- Tags
- API
- Service Catalog
- Session Replay
- Continuous Testing
- Synthetic Monitoring
- Incident Management
- Database Monitoring
- Cloud Security Management
- Cloud SIEM
- Application Security Management
- Workflow Automation
- CI Visibility
- Test Visibility
- Test Impact Analysis
- Code Analysis
- Learning Center
- Support
- Glossary
- Standard Attributes
- Guides
- Agent
- Integrations
- OpenTelemetry
- Developers
- Authorization
- DogStatsD
- Custom Checks
- Integrations
- Create an Agent-based Integration
- Create an API Integration
- Create a Log Pipeline
- Integration Assets Reference
- Build a Marketplace Offering
- Create a Tile
- Create an Integration Dashboard
- Create a Recommended Monitor
- Create a Cloud SIEM Detection Rule
- OAuth for Integrations
- Install Agent Integration Developer Tool
- Service Checks
- IDE Plugins
- Community
- Guides
- Administrator's Guide
- API
- Datadog Mobile App
- CoScreen
- Cloudcraft
- In The App
- Dashboards
- Notebooks
- DDSQL Editor
- Sheets
- Monitors and Alerting
- Infrastructure
- Metrics
- Watchdog
- Bits AI
- Service Catalog
- API Catalog
- Error Tracking
- Service Management
- Infrastructure
- Application Performance
- APM
- Continuous Profiler
- Database Monitoring
- Data Streams Monitoring
- Data Jobs Monitoring
- Digital Experience
- Real User Monitoring
- Product Analytics
- Synthetic Testing and Monitoring
- Continuous Testing
- Software Delivery
- CI Visibility
- CD Visibility
- Test Optimization
- Code Analysis
- Quality Gates
- DORA Metrics
- Security
- Security Overview
- Cloud SIEM
- Cloud Security Management
- Application Security Management
- AI Observability
- Log Management
- Observability Pipelines
- Log Management
- Administration
Protection
Overview
If your service is running an Agent with Remote Configuration enabled and a tracing library version that supports it, you can block attacks and attackers from the Datadog UI without additional configuration of the Agent or tracing libraries.
Application Security Management (ASM) Protect enables you to slow down attacks and attackers by blocking them. Security traces are blocked in real-time by the Datadog tracing libraries. Blocks are saved in the Datadog platform, automatically and securely fetched by the Datadog Agent, deployed in your infrastructure, and applied to your services.
Prerequisites
To use protection capabilities with your service:
- Update your Datadog Agent to at least version 7.41.1.
- Enable ASM.
- Enable Remote Configuration.
- Update your tracing library to at least the minimum version needed to turn on protection. For details, see the ASM capabilities support section of Compatibility for your service’s language.
- If you plan to use authenticated user blocking, add user information to traces.
Blocking attackers (IPs and authenticated users)
You can block attackers that are flagged in ASM Security Signals temporarily or permanently. In the Signals Explorer, click into a signal to see what users and IP addresses are generating the signal, and optionally block them.
From there, all ASM-protected services block incoming requests performed by the blocked IP or user, for the specified duration. All blocked traces are tagged with security_response.block_ip or security_response.block_user and displayed in the Trace Explorer. Services where ASM is disabled aren’t protected. See Investigate Security Signals for more information.
Respond to threats in real time by automating attacker blocking
In addition to manually blocking attackers, you can configure automation rules to have ASM automatically block attackers that are flagged in Security Signals.
To get started, navigate to Security > Application Security > Protection > Detection Rules. You can create a new rule or edit an existing rule with type Application security. For example, you can create a rule to trigger Critical severity signals when Credential Stuffing attacks are detected, and automatically block the associated attackers’ IP addresses for 30 minutes.
Note: You must instrument your services to be able to block authenticated attackers. See User Monitoring and Protection for more details.
Block attackers at the perimeter - integrate ASM with your existing WAF deployments
Datadog ASM enables customers to block attackers at the perimeter, directly from the Security Signal. ASM integrates with Workflows to push the attackers’ IP addresses to perimeter Web Application Firewalls (AWS WAF, Cloudflare, Fastly) and ensure requests from these attackers are blocked at the edge even before they enter the customer’s environment. Create workflows from the available blueprints and run them directly from ASM’s Signal side panel.
Denylist
Attackers’ IP addresses and authenticated users that are permanently or temporarily blocked are added to the Denylist. Manage the list on the Denylist page. A denylist supports blocking individual IPs as well as a range of IPs (CIDR blocks).
Passlist
You can use the Passlist to permanently allow specific IP addresses access to your application. For example, you may wish to add internal IP addresses to your passlist, or IP addresses that regularly run security audits on your application. You can also add specific paths to ensure uninterrupted access. Manage the list from the Passlist page.
Blocking attack attempts with In-App WAF
ASM In-App WAF (web application firewall) combines the detection techniques of perimeter-based WAFs with the rich context provided by Datadog, helping your teams protect their systems with confidence.
Because ASM is aware of an application’s routes, protection can be applied granularly to specific services, and not necessarily across all applications and traffic. This contextual efficiency reduces your inspection effort, and it reduces the false positive rate compared to a perimeter WAF. There is no learning period, because most web frameworks provide a structured map of routes. ASM can help your team roll out protections against zero-day vulnerabilities automatically soon after the vulnerability is disclosed, while targeting vulnerable applications, limiting the risk of false positives.
How In-App WAF blocks security traces
In addition to the monitoring and disabled modes offered for each of the 130+ In-App WAF rules, rules also have blocking mode. Each rule specifies conditions on the incoming request to define what the library considers suspicious. When a given rule pattern matches an ongoing HTTP request, the request is blocked by the library.
Managed policies define the mode in which each of the In-App WAF rules behave on match: monitoring, blocking, or disabled. Because it has the full context of your applications, ASM knows which rules to apply to protect your applications while limiting the number of false positives.
For fine-grained control, you can clone a Datadog managed policy or create a custom policy and set the mode to meet your needs. If you set the policy to auto-updating, your applications are protected by the latest detections rolled out by Datadog. You also have the option to pin a policy to a specific version of the ruleset.
As In-App WAF rules are toggled between modes, the changes are reflected in near real-time for services with Remote Configuration enabled. For other services, you can update the policy on the In-App WAF page and then define In-App WAF rules for the change in behavior to be applied.
Manage In-App WAF by navigating to Security –> Application Security –> Configuration –> In-App WAF.
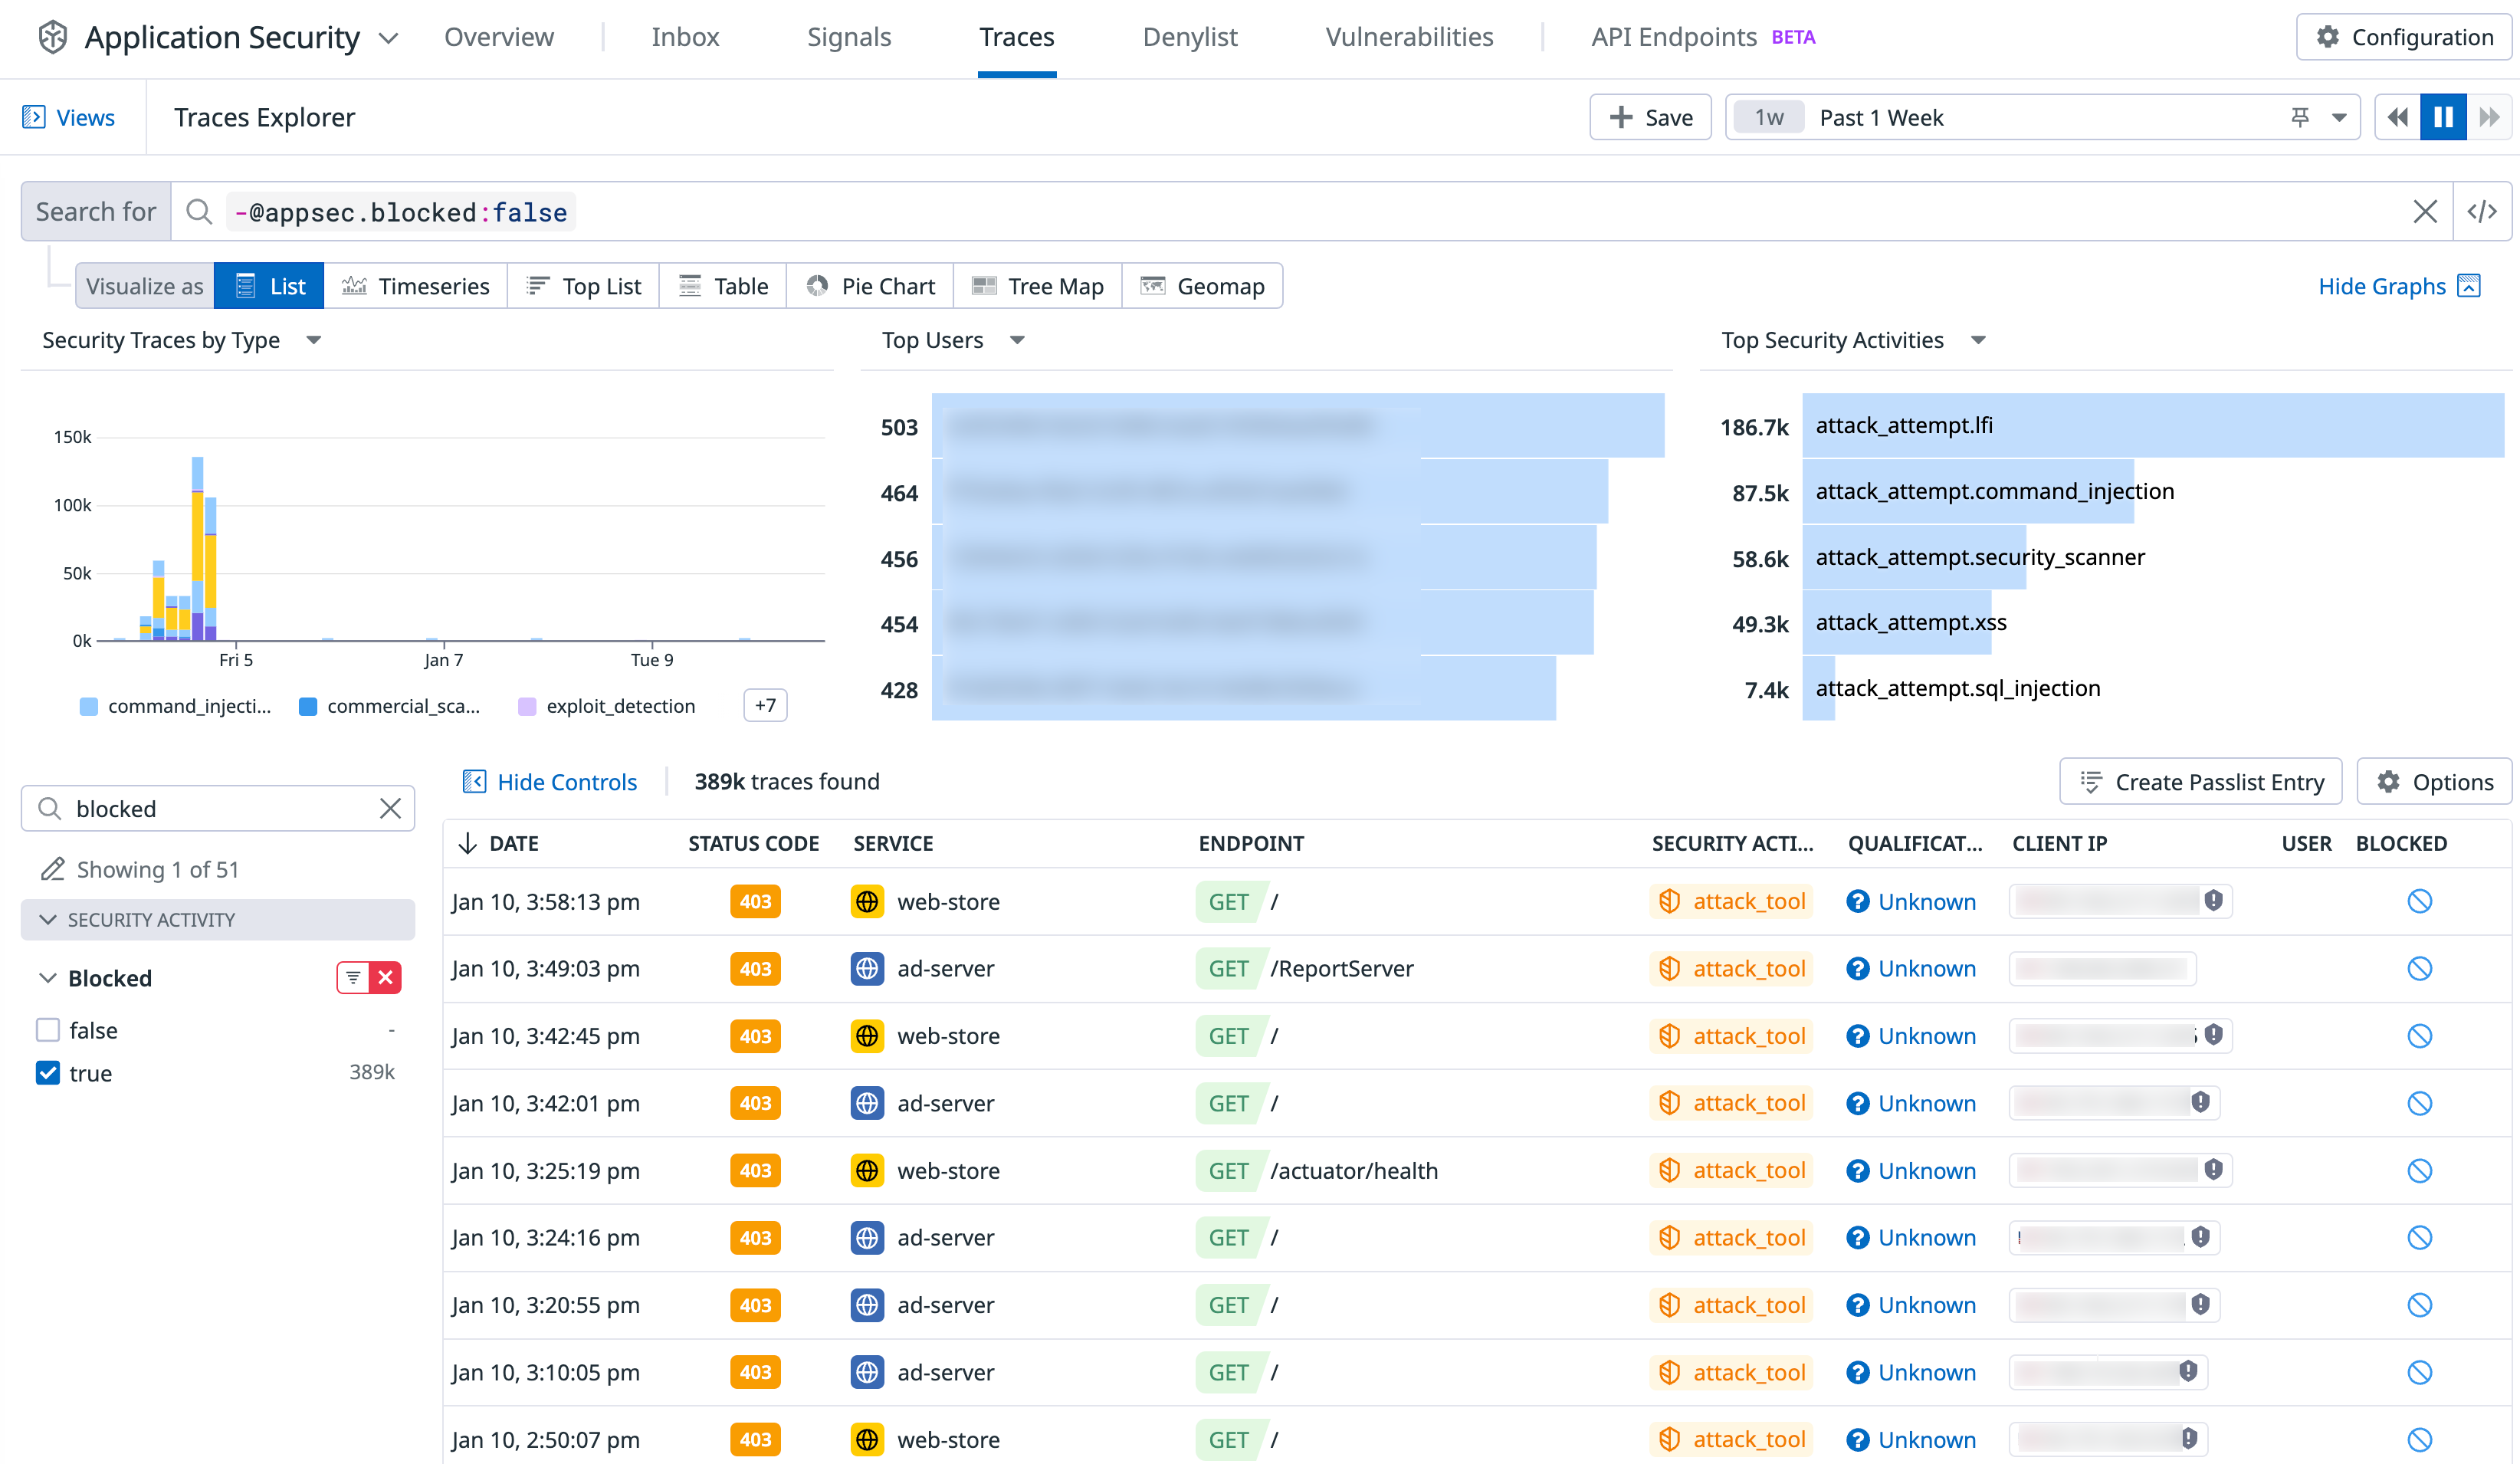
View blocked security traces in the Trace Explorer by filtering on the facet Blocked:true.
Configure In-App WAF
Enable Remote Configuration so that your ASM-enabled services show up under In-App WAF. This is required to securely push In-App WAF configuration from your Datadog backend to the tracing library in your infrastructure.
Associate your ASM/Remote Configuration-enabled services with a policy. After Remote Configuration is enabled on a service, navigate to Security > Application Security > Protection > In-App WAF. The service appears under the Datadog Monitoring-only policy by default. Datadog Monitoring-only is a managed policy and is read-only, meaning you cannot modify the status (monitoring, blocking, or disabled) for individual rules.
If you need granular control, clone one of the available policies to create a custom policy where rule statuses can be modified. Associate one or more of your services with this custom policy.
To change the policy applied by default to your services, you can update your default policy. From the In-App-WAF, click the policy you would like to set as default, then click Actions > Set this policy as default.
Customize protection behavior
Customize response to blocked requests
The blocked requests feature JSON or HTML content. If the Accept HTTP header is pointing to HTML, like text/html, the HTML content is used. Otherwise, the JSON one is used.
Both sets of content are embedded in the Datadog Tracer library package and loaded locally. See examples of the templates for HTML and JSON in the Datadog Java tracer source code on GitHub.
The HTML and JSON content can both be changed using the DD_APPSEC_HTTP_BLOCKED_TEMPLATE_HTML and DD_APPSEC_HTTP_BLOCKED_TEMPLATE_JSON environment variables within your application deployment file.
Example:
DD_APPSEC_HTTP_BLOCKED_TEMPLATE_HTML=<path_to_file.html>
Alternatively, you can use the configuration entry.
For Java, add the following:
dd.appsec.http.blocked.template.html = '<path_to_file.html>'
dd.appsec.http.blocked.template.json = '<path_to_file.json>'
For Ruby, add the following:
# config/initializers/datadog.rb

Datadog.configure do |c|
  # To configure the text/html blocking page
  c.appsec.block.templates.html = '<path_to_file.html>'
  # To configure the application/json blocking page
  c.appsec.block.templates.json = '<path_to_file.json>'
end
For PHP, add the following:
; 98-ddtrace.ini

; Customises the HTML output provided on a blocked request
datadog.appsec.http_blocked_template_html = <path_to_file.html>

; Customises the JSON output provided on a blocked request
datadog.appsec.http_blocked_template_json = <path_to_file.json>
For Node.js, add the following:
require('dd-trace').init({
  appsec: {
    blockedTemplateHtml: '<path_to_file.html>',
    blockedTemplateJson: '<path_to_file.json>'
  }
})
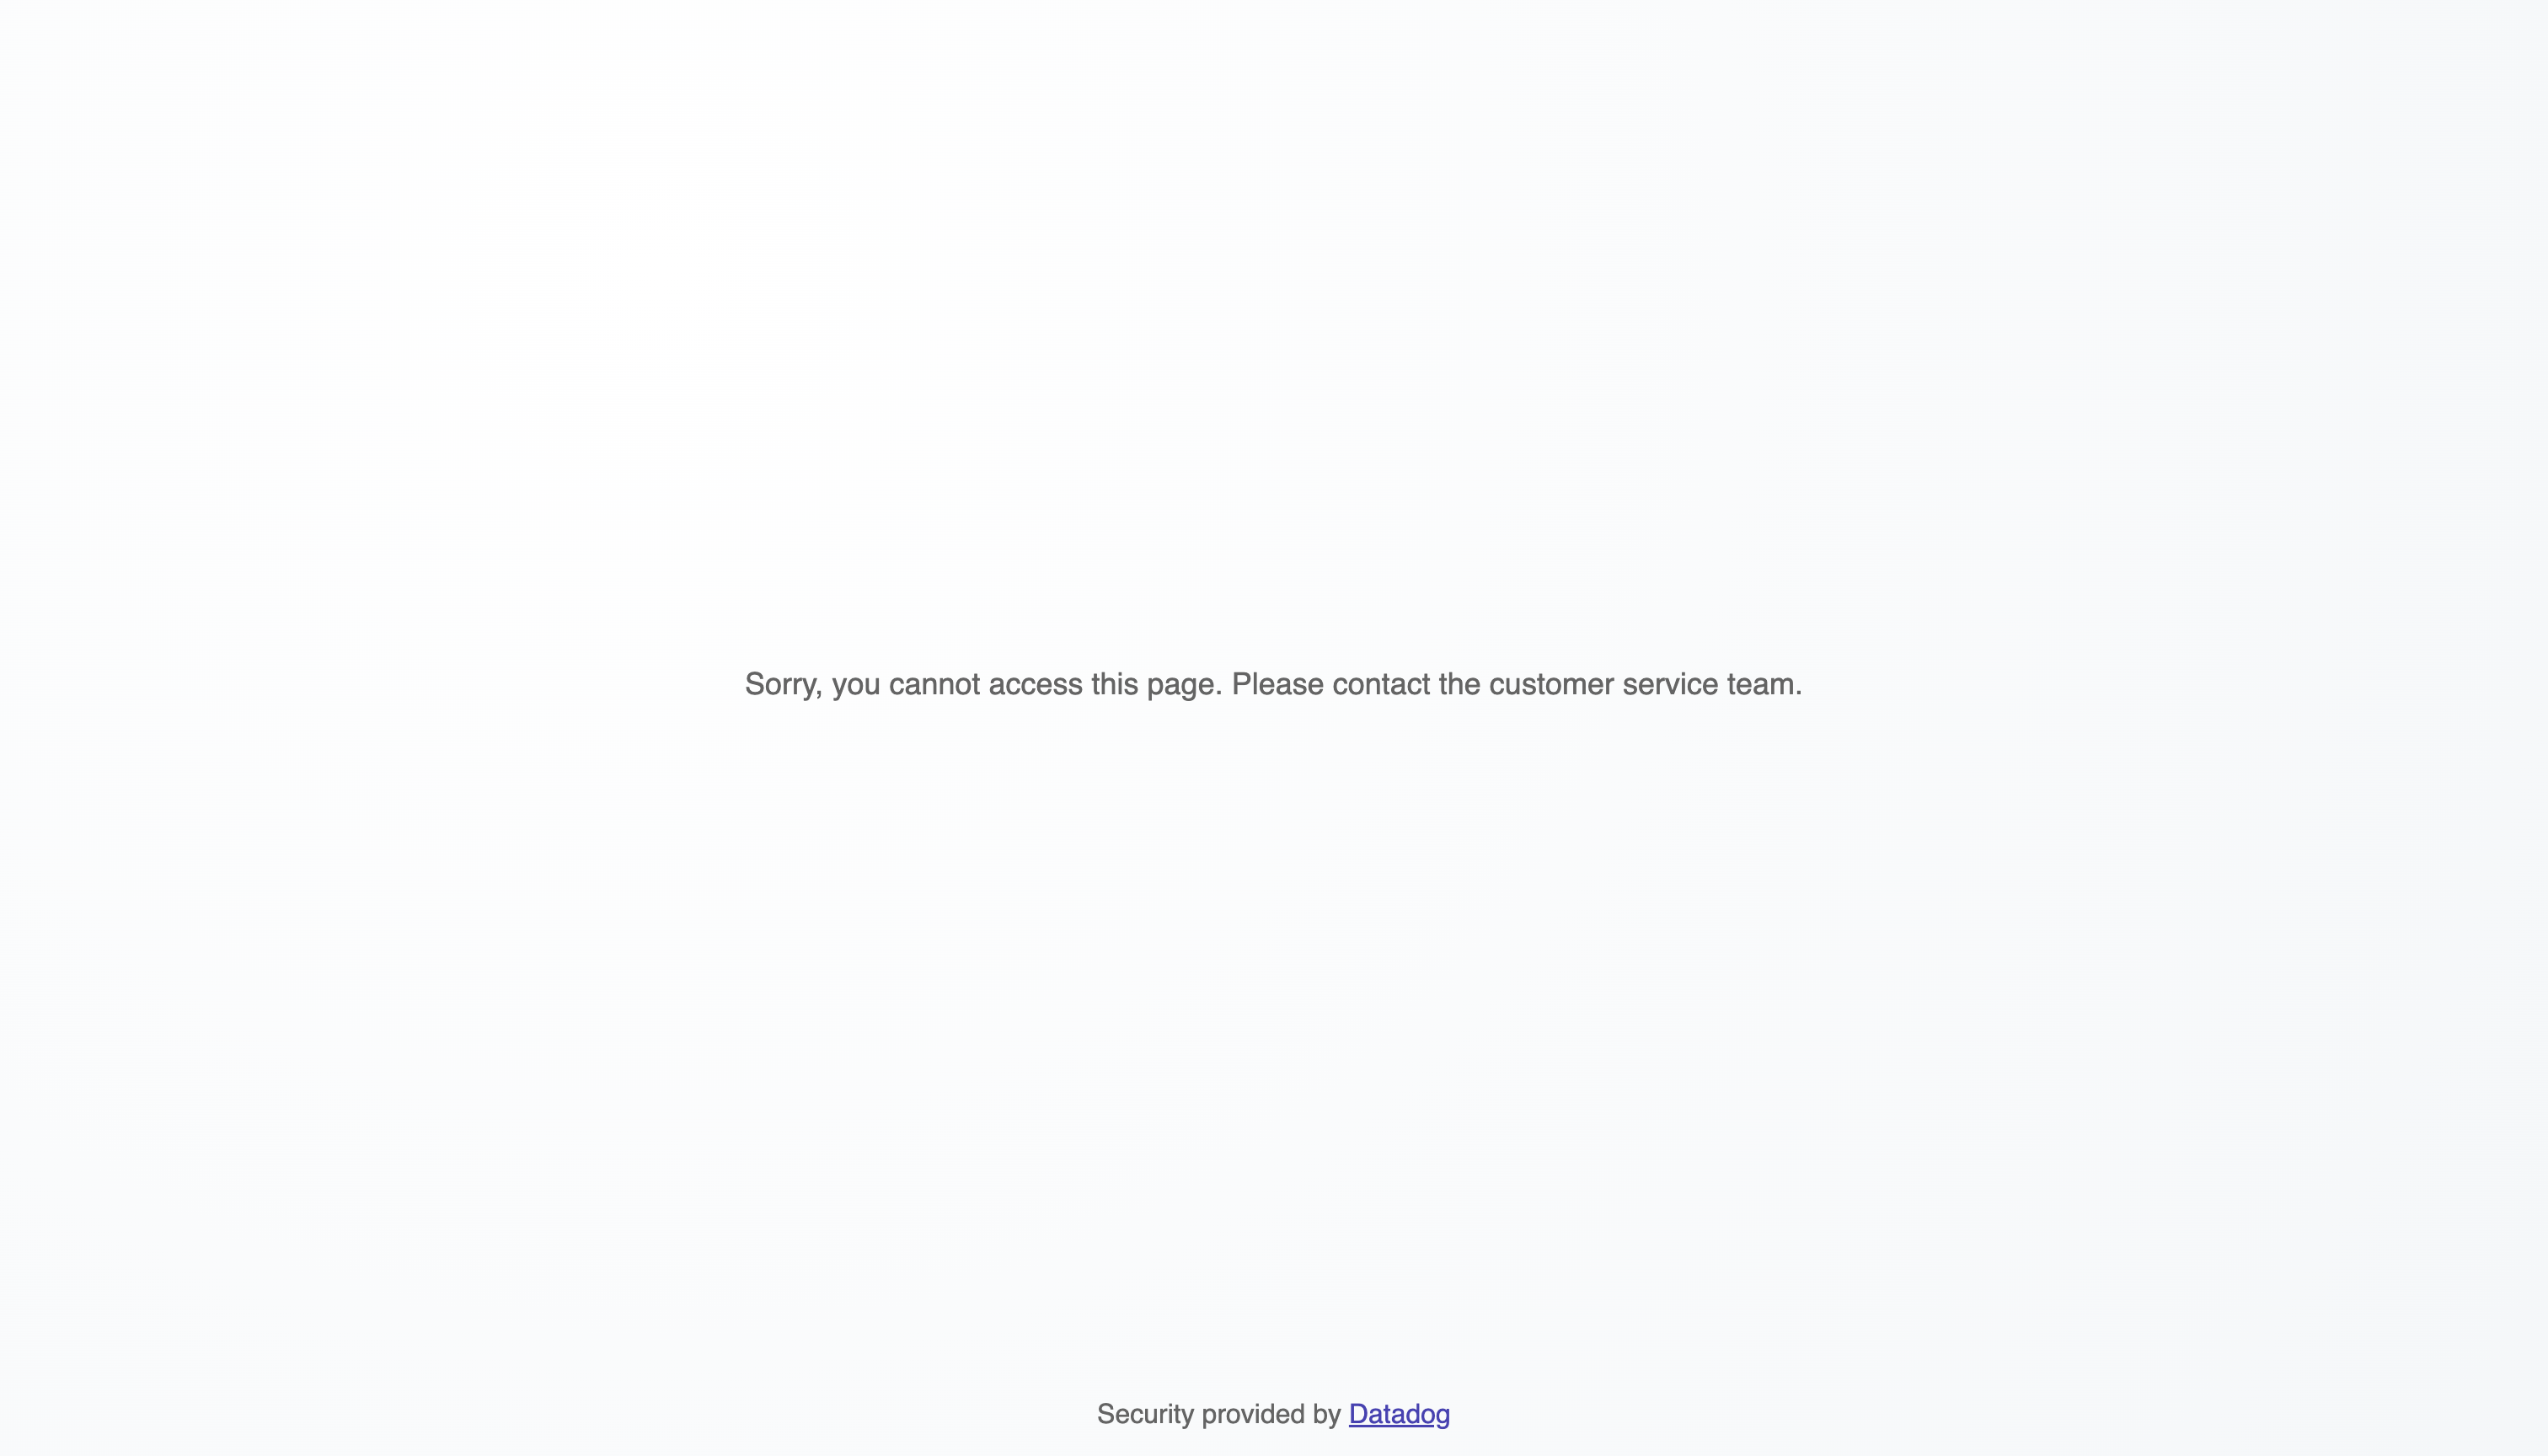
By default, the page shown in response to a blocked action looks like this:
The default HTTP response status code while serving the deny page to attackers is 403 FORBIDDEN. To customize the response, navigate to Security > Application Security > Protection > Summary.
You can optionally mask the fact that the attacker has been detected and blocked by overriding the response code to be 200 OK or 404 NOT FOUND when the deny page is served.
You can also optionally redirect attackers to a custom deny page and away from your critical services and infrastructure. Specify a redirect URL and the type of redirect, for example permanent (301 response code) or temporary (302 response code).
Disable protection across all services (Disabling protection mode)
Protection mode is on by default and is a toggle available to quickly disable blocking across all your services. Requests can be blocked from two sections in Datadog: all attacker requests from Security Signals, and security traces from In-App WAF.
As important as it is for you to be able to apply protection granularly and reduce the likelihood of legitimate users getting blocked, you sometimes need a simple off switch to quickly stop all blocking across all services. To turn off protection, navigate to Security > Application Security > Protection > Summary and toggle Allow Request Blocking to off.
Further reading
Additional helpful documentation, links, and articles:


