- Principales informations
- Getting Started
- Datadog
- Site Datadog
- DevSecOps
- Serverless for AWS Lambda
- Agent
- Intégrations
- Conteneurs
- Dashboards
- Monitors
- Logs
- Tracing
- Profileur
- Tags
- API
- Service Catalog
- Session Replay
- Continuous Testing
- Surveillance Synthetic
- Incident Management
- Database Monitoring
- Cloud Security Management
- Cloud SIEM
- Application Security Management
- Workflow Automation
- CI Visibility
- Test Visibility
- Intelligent Test Runner
- Code Analysis
- Learning Center
- Support
- Glossary
- Standard Attributes
- Guides
- Agent
- Intégrations
- OpenTelemetry
- Développeurs
- Authorization
- DogStatsD
- Checks custom
- Intégrations
- Create an Agent-based Integration
- Create an API Integration
- Create a Log Pipeline
- Integration Assets Reference
- Build a Marketplace Offering
- Create a Tile
- Create an Integration Dashboard
- Create a Recommended Monitor
- Create a Cloud SIEM Detection Rule
- OAuth for Integrations
- Install Agent Integration Developer Tool
- Checks de service
- IDE Plugins
- Communauté
- Guides
- API
- Application mobile
- CoScreen
- Cloudcraft
- In The App
- Dashboards
- Notebooks
- DDSQL Editor
- Alertes
- Infrastructure
- Métriques
- Watchdog
- Bits AI
- Service Catalog
- API Catalog
- Error Tracking
- Service Management
- Infrastructure
- Universal Service Monitoring
- Conteneurs
- Sans serveur
- Surveillance réseau
- Cloud Cost
- Application Performance
- APM
- Profileur en continu
- Database Monitoring
- Agent Integration Overhead
- Setup Architectures
- Configuration de Postgres
- Configuration de MySQL
- Configuration de SQL Server
- Setting Up Oracle
- Setting Up MongoDB
- Connecting DBM and Traces
- Données collectées
- Exploring Database Hosts
- Explorer les métriques de requête
- Explorer des échantillons de requêtes
- Dépannage
- Guides
- Data Streams Monitoring
- Data Jobs Monitoring
- Digital Experience
- RUM et Session Replay
- Product Analytics
- Surveillance Synthetic
- Continuous Testing
- Software Delivery
- CI Visibility
- CD Visibility
- Test Visibility
- Exécuteur de tests intelligent
- Code Analysis
- Quality Gates
- DORA Metrics
- Securité
- Security Overview
- Cloud SIEM
- Cloud Security Management
- Application Security Management
- AI Observability
- Log Management
- Pipelines d'observabilité
- Log Management
- Administration
Enable SSO with a Generic Identity Provider
Cette page n'est pas encore disponible en français, sa traduction est en cours.
Si vous avez des questions ou des retours sur notre projet de traduction actuel, n'hésitez pas à nous contacter.
Si vous avez des questions ou des retours sur notre projet de traduction actuel, n'hésitez pas à nous contacter.
Enabling Single Sign-On (SSO) in Cloudcraft allows you to simplify authentication and login access to Cloudcraft.
This article helps you set up SSO if you do not have a specific guide for your identity provider. If your identity provider is Azure AD or Okta, see the following articles:
For more general information on using SSO with Cloudcraft, check out Enable SSO in Your Account.
Setting up SAML/SSO
Only the account owner can configure the SAML SSO feature. If the account owner is unable to configure SSO, contact the Cloudcraft support team to enable this feature.
- In Cloudcraft, navigate to User > Security & SSO.
- The details you need to create a new application with Azure can be found in the Cloudcraft service provider details section.
Log in to your identity provider as an administrator.
Follow their documentation to create a new application for SAML integration.
Map their fields with Cloudcraft’s fields. For reference, the fields are usually mapped as follows, with the first one being the label used by your identity provider and the second one being the label at Cloudcraft.
- Single sign on URL: Assertion Consumer Service URL
- Audience URI: Service Provider Entity ID
- Name ID: NameId Format
If the Name ID field is a dropdown, select emailAddress or similar.
You can also include an app logo to make it easier for users to see which application they are signing in to. We have one that fit most provider's restrictions over here.
- Configure the application to allow access to all the relevant users within your organization.
- Download the metadata file generated by your provider — sometimes called federation XML.
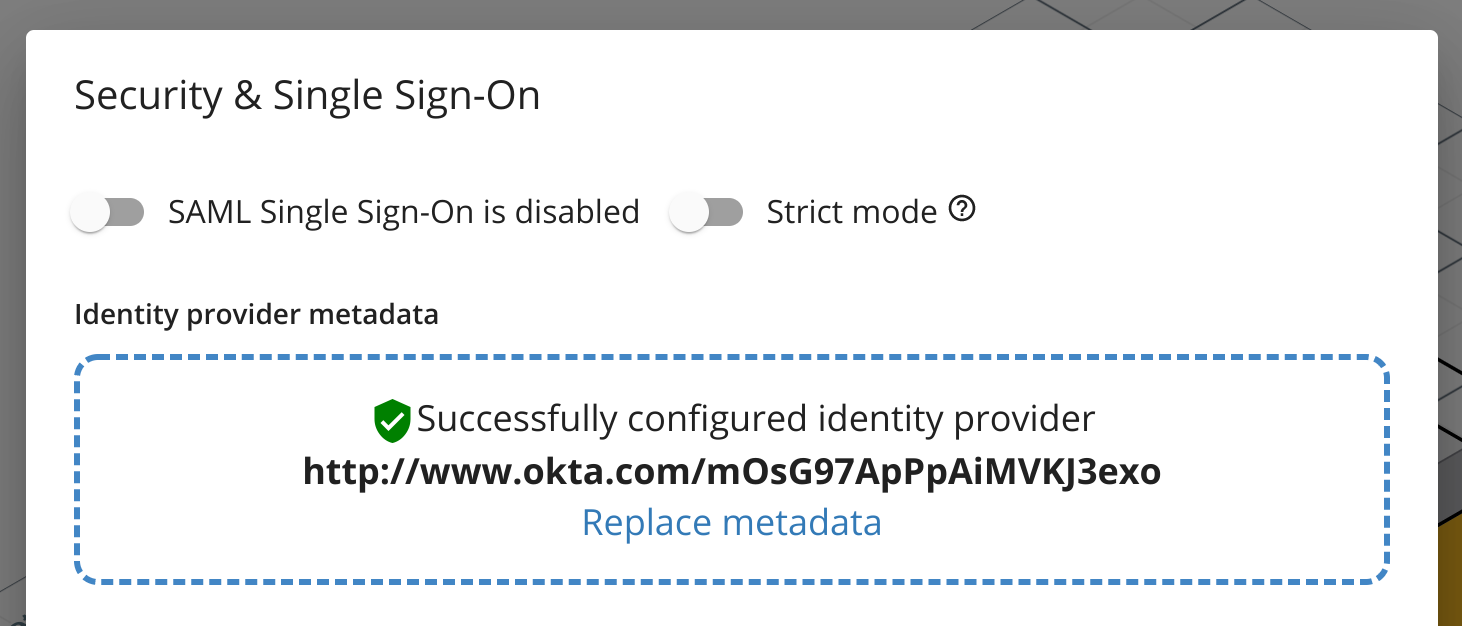
- Navigate back to Cloudcraft and upload your metadata XML file.
- Toggle the SAML Single Sign-On is enabled option.
- If you prefer to have your users access Cloudcraft only via your identity provider, enable the Strict mode option.


