- 重要な情報
- はじめに
- Datadog
- Datadog サイト
- DevSecOps
- AWS Lambda のサーバーレス
- エージェント
- インテグレーション
- コンテナ
- ダッシュボード
- アラート設定
- ログ管理
- トレーシング
- プロファイラー
- タグ
- API
- Service Catalog
- Session Replay
- Continuous Testing
- Synthetic モニタリング
- Incident Management
- Database Monitoring
- Cloud Security Management
- Cloud SIEM
- Application Security Management
- Workflow Automation
- CI Visibility
- Test Visibility
- Intelligent Test Runner
- Code Analysis
- Learning Center
- Support
- 用語集
- Standard Attributes
- ガイド
- インテグレーション
- エージェント
- OpenTelemetry
- 開発者
- 認可
- DogStatsD
- カスタムチェック
- インテグレーション
- Create an Agent-based Integration
- Create an API Integration
- Create a Log Pipeline
- Integration Assets Reference
- Build a Marketplace Offering
- Create a Tile
- Create an Integration Dashboard
- Create a Recommended Monitor
- Create a Cloud SIEM Detection Rule
- OAuth for Integrations
- Install Agent Integration Developer Tool
- サービスのチェック
- IDE インテグレーション
- コミュニティ
- ガイド
- API
- モバイルアプリケーション
- CoScreen
- Cloudcraft
- アプリ内
- Service Management
- インフラストラクチャー
- アプリケーションパフォーマンス
- APM
- Continuous Profiler
- データベース モニタリング
- Data Streams Monitoring
- Data Jobs Monitoring
- Digital Experience
- Software Delivery
- CI Visibility (CI/CDの可視化)
- CD Visibility
- Test Visibility
- Intelligent Test Runner
- Code Analysis
- Quality Gates
- DORA Metrics
- セキュリティ
- セキュリティの概要
- Cloud SIEM
- クラウド セキュリティ マネジメント
- Application Security Management
- AI Observability
- ログ管理
- Observability Pipelines(観測データの制御)
- ログ管理
- 管理
保護
概要
リモート構成を有効にした Agent とそれをサポートするトレーシングライブラリのバージョンを実行しているサービスであれば、Agent やトレーシングライブラリの追加構成なしに、Datadog UI から攻撃やアタッカーをブロックすることができます。
Application Security Management (ASM) Protect enables you to slow down attacks and attackers by blocking them. Security traces are blocked in real-time by the Datadog tracing libraries. Blocks are saved in the Datadog platform, automatically and securely fetched by the Datadog Agent, deployed in your infrastructure, and applied to your services.
前提条件
To use protection capabilities with your service:
- Datadog Agent をバージョン 7.41.1 以上に更新します。
- ASM を有効にします。
- リモート構成を有効にします。
- トレーシングライブラリを、保護を有効にするために必要な最小バージョン以上に更新してください。詳細は、お使いのサービスの言語の互換性の ASM 機能のサポートセクションを参照してください。
- 認証ユーザーブロッキングを使用する場合は、トレースにユーザー情報を追加します。
攻撃者 (IP および認証ユーザー) のブロック
ASM セキュリティシグナルでフラグが立てられた攻撃者を一時的または恒久的にブロックすることができます。シグナルエクスプローラでシグナルをクリックすると、そのシグナルを生成しているユーザーと IP アドレスが表示され、オプションでそれらをブロックすることができます。
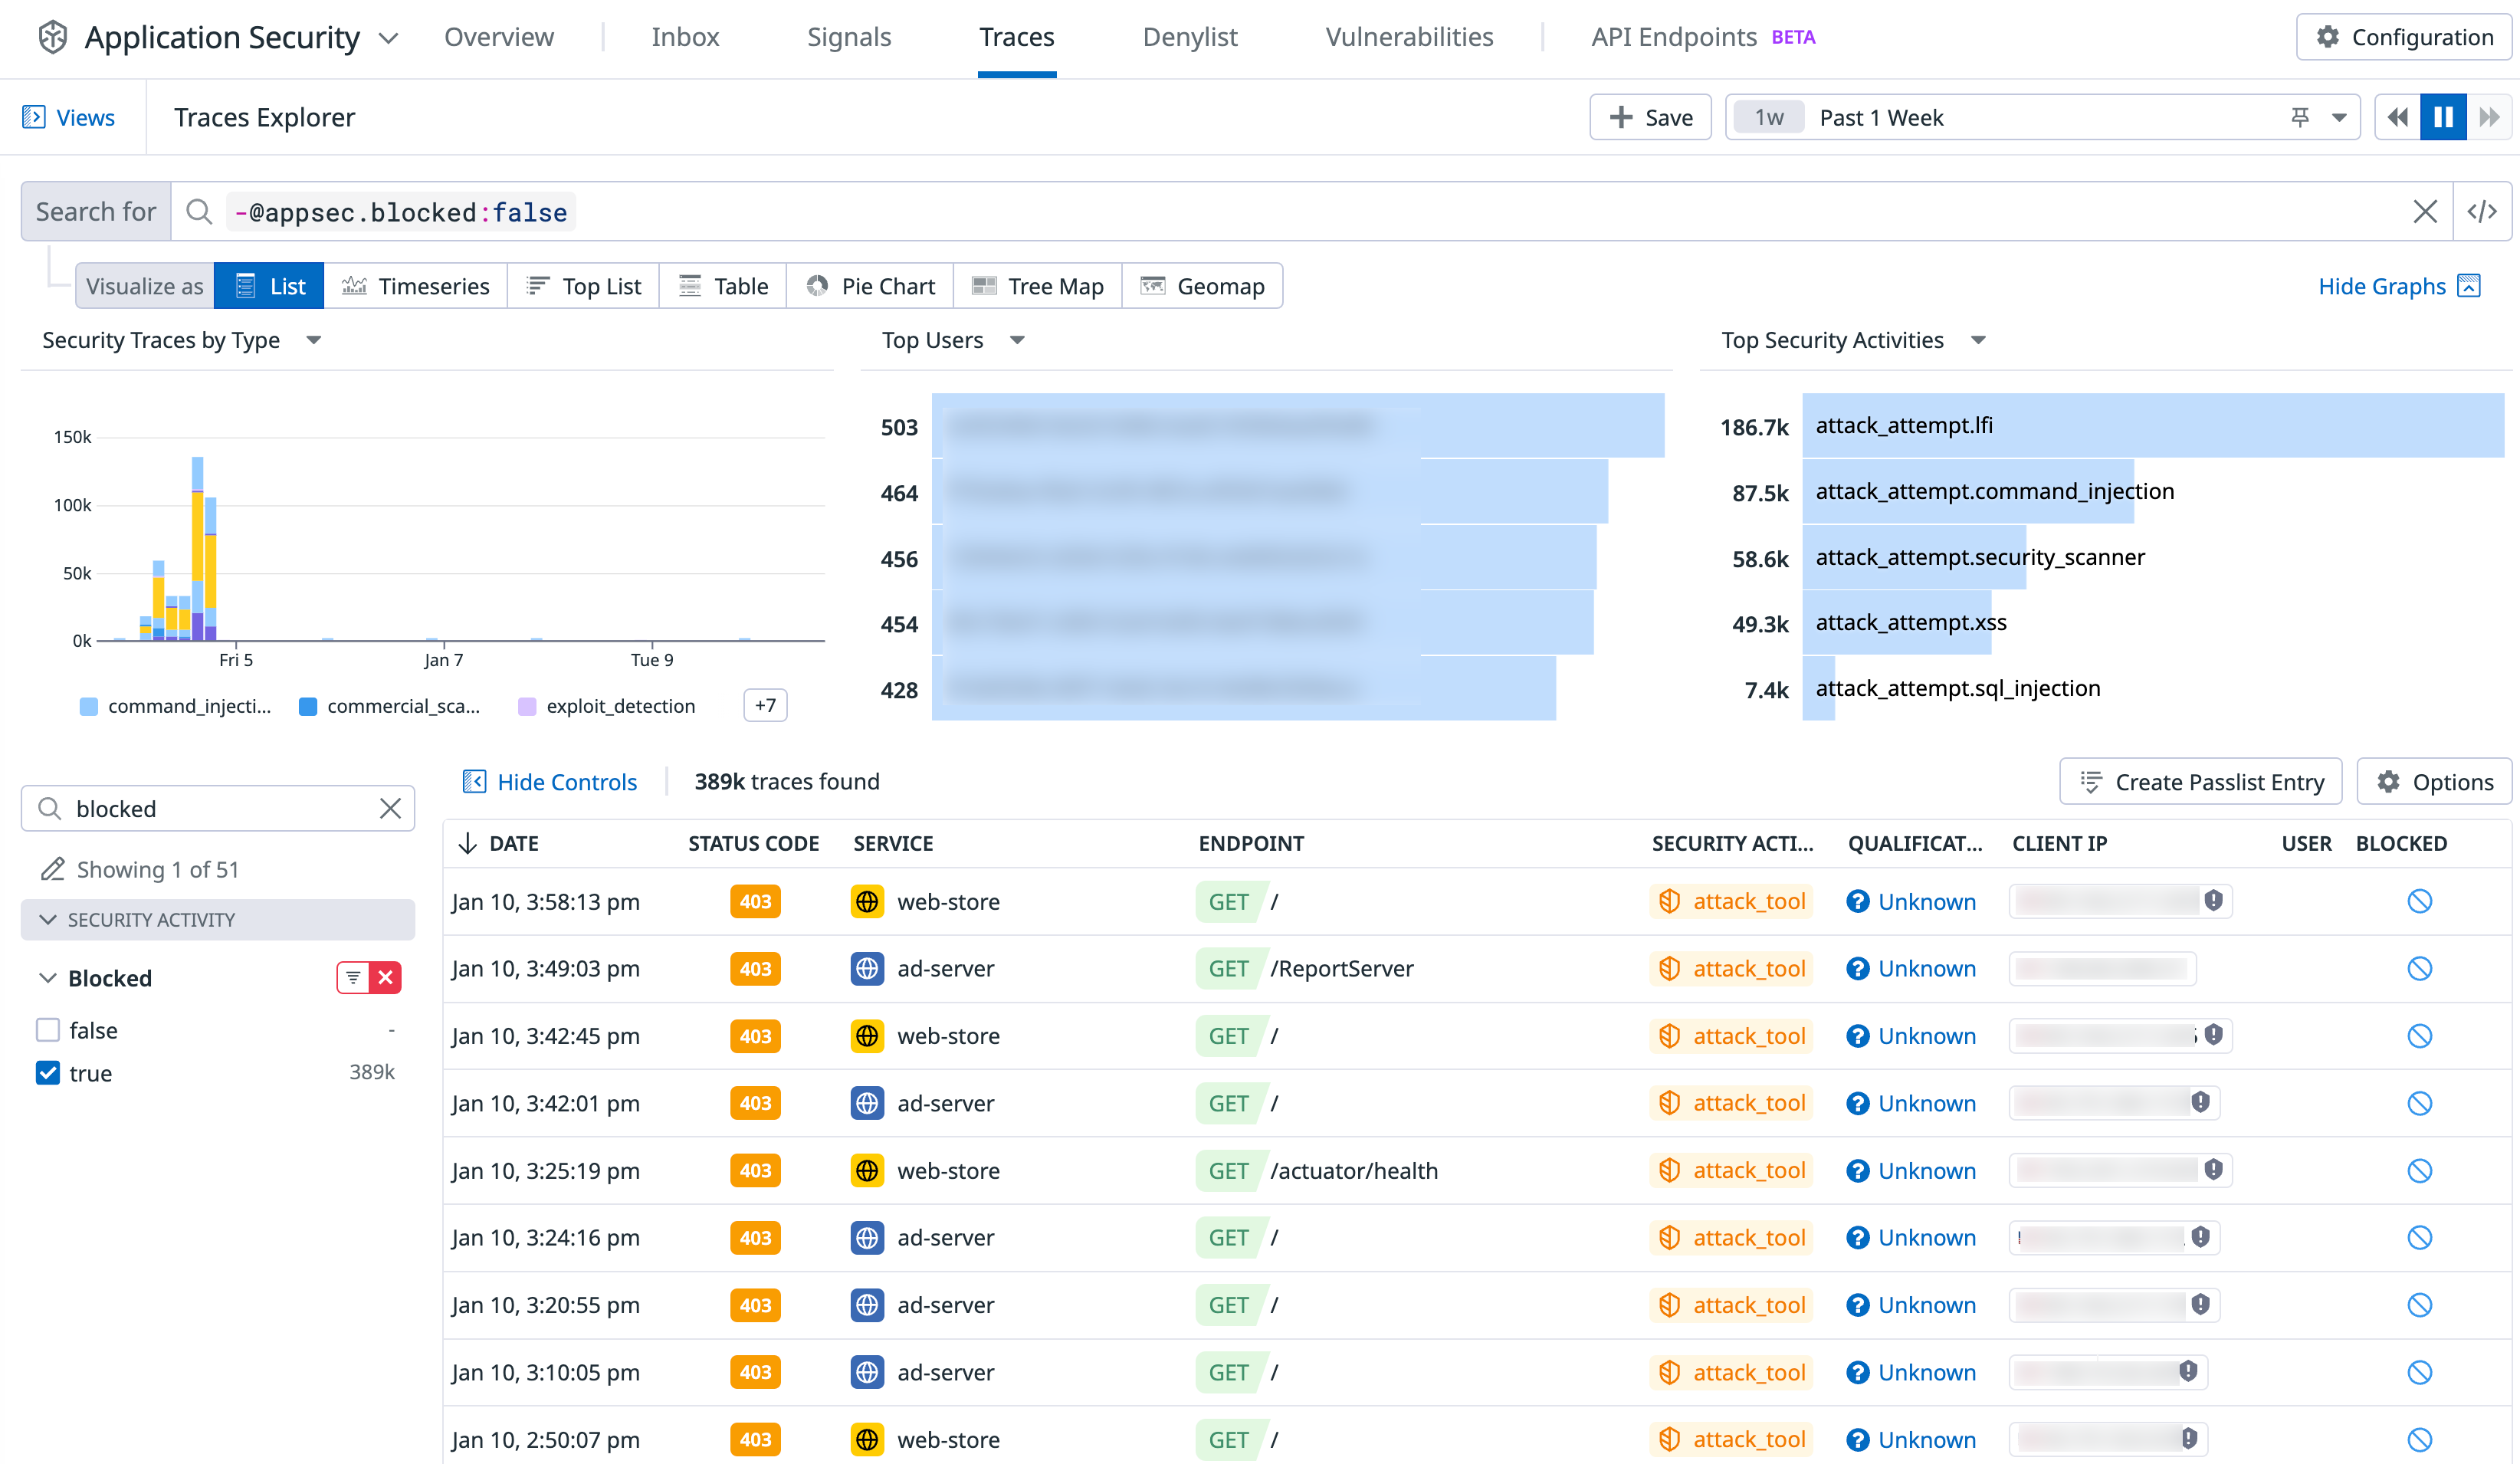
From there, all ASM-protected services block incoming requests performed by the blocked IP or user, for the specified duration. All blocked traces are tagged with security_response.block_ip or security_response.block_user and displayed in the Trace Explorer. Services where ASM is disabled aren’t protected. See Investigate Security Signals for more information.
攻撃者ブロックの自動化により、脅威へのリアルタイムな対応を実現
攻撃者を手動でブロックするだけでなく、自動化ルールを構成して、ASM がセキュリティシグナルでフラグを立てた攻撃者を自動的にブロックするようにすることも可能です。
To get started, navigate to Security > Application Security > Protection > Detection Rules. You can create a new rule or edit an existing rule with type Application security. For example, you can create a rule to trigger Critical severity signals when Credential Stuffing attacks are detected, and automatically block the associated attackers’ IP addresses for 30 minutes.
注: 認証された攻撃者をブロックできるようにするには、サービスをインスツルメンテーションする必要があります。詳しくは、ユーザーの監視と保護をご覧ください。
攻撃者を境界でブロック - ASM を既存の WAF デプロイとインテグレーション
Datadog ASM は、Security Signal から直接、攻撃者を境界でブロックすることができます。ASM はワークフローとインテグレーションし、攻撃者の IP アドレスを境界の Web アプリケーションファイアウォール (AWS WAF、Cloudflare、Fastly) にプッシュし、これらの攻撃者からのリクエストが顧客の環境に入る前にエッジでブロックされるようにします。 利用可能なブループリントからワークフローを作成し、ASM のシグナルサイドパネルから直接実行します。
Denylist
永久的または一時的にブロックされた攻撃者の IP アドレスや認証ユーザーは、Denylist に追加されます。Denylist ページでリストを管理します。Denylist は、個別 IP だけではなく IP 範囲 (CIDR ブロック) のブロックもサポートしています。
Passlist
Passlist を使用すると、特定の IP アドレスに対して、アプリケーションへのアクセスを恒久的に許可することができます。例えば、内部 IP アドレスや、アプリケーションのセキュリティ監査を定期的に実行する IP アドレスを Passlist に追加することができます。また、特定のパスを追加して、中断のないアクセスを確保することもできます。Passlist ページからリストを管理します。
アプリ内 WAF による攻撃試行のブロック
ASM アプリ内 WAF (Web アプリケーションファイアウォール) は、境界ベースの WAF の検出技術と Datadog が提供する豊富なコンテキストを組み合わせ、チームが自信を持ってシステムを保護できるようにします。
ASM はアプリケーションのルートを認識しているため、保護は特定のサービスに対してきめ細かく適用でき、必ずしもすべてのアプリケーションとトラフィックに適用する必要はありません。このコンテキストに基づく効率化により、検査の労力が軽減され、境界型 WAF と比較して誤検出率が低下します。ほとんどの Web フレームワークが構造化された経路のマップを提供するため、学習期間はありません。ASM は、脆弱性が公開された後すぐにゼロデイ脆弱性に対する保護を自動的に展開し、脆弱なアプリケーションをターゲットにして、誤検出のリスクを抑えることができるようにします。
How In-App WAF blocks security traces
130 以上のアプリ内 WAF ルールのそれぞれに提供される monitoring および disabled モードに加え、ルールには blocking モードもあります。各ルールは、ライブラリが疑わしいと判断する条件を受信リクエストに指定します。与えられたルールパターンが進行中の HTTP リクエストにマッチすると、そのリクエストはライブラリによってブロックされます。
マネージドポリシーは、アプリ内 WAF ルールの各々がマッチング時に動作するモードを定義します。monitoring、blocking、disabled のいずれかです。ASM はアプリケーションの完全なコンテキストを把握しているため、どのルールを適用すれば誤検知の数を抑えながらアプリケーションを保護できるかを把握しています。
きめ細かい制御を行うには、Datadog が管理するポリシーを複製するか、カスタムポリシーを作成し、ニーズに合わせてモードを設定することができます。ポリシーを auto-updating に設定すると、Datadog が展開する最新の検出によってアプリケーションが保護されます。また、ポリシーをルールセットの特定のバージョンに固定するオプションもあります。
アプリ内 WAF ルールがモード間で切り替わるため、リモート構成が有効のサービスでは、ほぼリアルタイムで変更が反映されます。それ以外のサービスでは、アプリ内 WAF ページでポリシーを更新し、アプリ内 WAF ルールの定義を行うことで、動作の変更が適用されます。
Security –> Application Security –> Configuration –> In-App WAF と進み、アプリ内 WAF を管理します。
トレースエクスプローラーで、ファセット Blocked:true でフィルターをかけて、ブロックされたセキュリティトレースを表示します。
アプリ内 WAF の構成
リモート構成を有効にすると、ASM が有効なサービスがアプリ内 WAF の下に表示されるようになります。これは、Datadog バックエンドからインフラストラクチャー内のトレーシングライブラリにアプリ内 WAF の構成を安全にプッシュするために必要です。
Associate your ASM/Remote Configuration-enabled services with a policy. After Remote Configuration is enabled on a service, navigate to Security > Application Security > Protection > In-App WAF. The service appears under the Datadog Monitoring-only policy by default. Datadog Monitoring-only is a managed policy and is read-only, meaning you cannot modify the status (monitoring, blocking, or disabled) for individual rules.
If you need granular control, clone one of the available policies to create a custom policy where rule statuses can be modified. Associate one or more of your services with this custom policy.
To change the policy applied by default to your services, you can update your default policy. From the In-App-WAF, click the policy you would like to set as default, then click Actions > Set this policy as default.
保護動作のカスタマイズ
ブロックされたリクエストへの対応をカスタマイズする
The blocked requests feature JSON or HTML content. If the Accept HTTP header is pointing to HTML, like text/html, the HTML content is used. Otherwise, the JSON one is used.
Both sets of content are embedded in the Datadog Tracer library package and loaded locally. See examples of the templates for HTML and JSON in the Datadog Java tracer source code on GitHub.
The HTML and JSON content can both be changed using the DD_APPSEC_HTTP_BLOCKED_TEMPLATE_HTML and DD_APPSEC_HTTP_BLOCKED_TEMPLATE_JSON environment variables within your application deployment file.
Example:
DD_APPSEC_HTTP_BLOCKED_TEMPLATE_HTML=<path_to_file.html>
Alternatively, you can use the configuration entry.
For Java, add the following:
dd.appsec.http.blocked.template.html = '<path_to_file.html>'
dd.appsec.http.blocked.template.json = '<path_to_file.json>'
For Ruby, add the following:
# config/initializers/datadog.rb

Datadog.configure do |c|
  # To configure the text/html blocking page
  c.appsec.block.templates.html = '<path_to_file.html>'
  # To configure the application/json blocking page
  c.appsec.block.templates.json = '<path_to_file.json>'
end
For PHP, add the following:
; 98-ddtrace.ini

; Customises the HTML output provided on a blocked request
datadog.appsec.http_blocked_template_html = <path_to_file.html>

; Customises the JSON output provided on a blocked request
datadog.appsec.http_blocked_template_json = <path_to_file.json>
For Node.js, add the following:
require('dd-trace').init({
  appsec: {
    blockedTemplateHtml: '<path_to_file.html>',
    blockedTemplateJson: '<path_to_file.json>'
  }
})
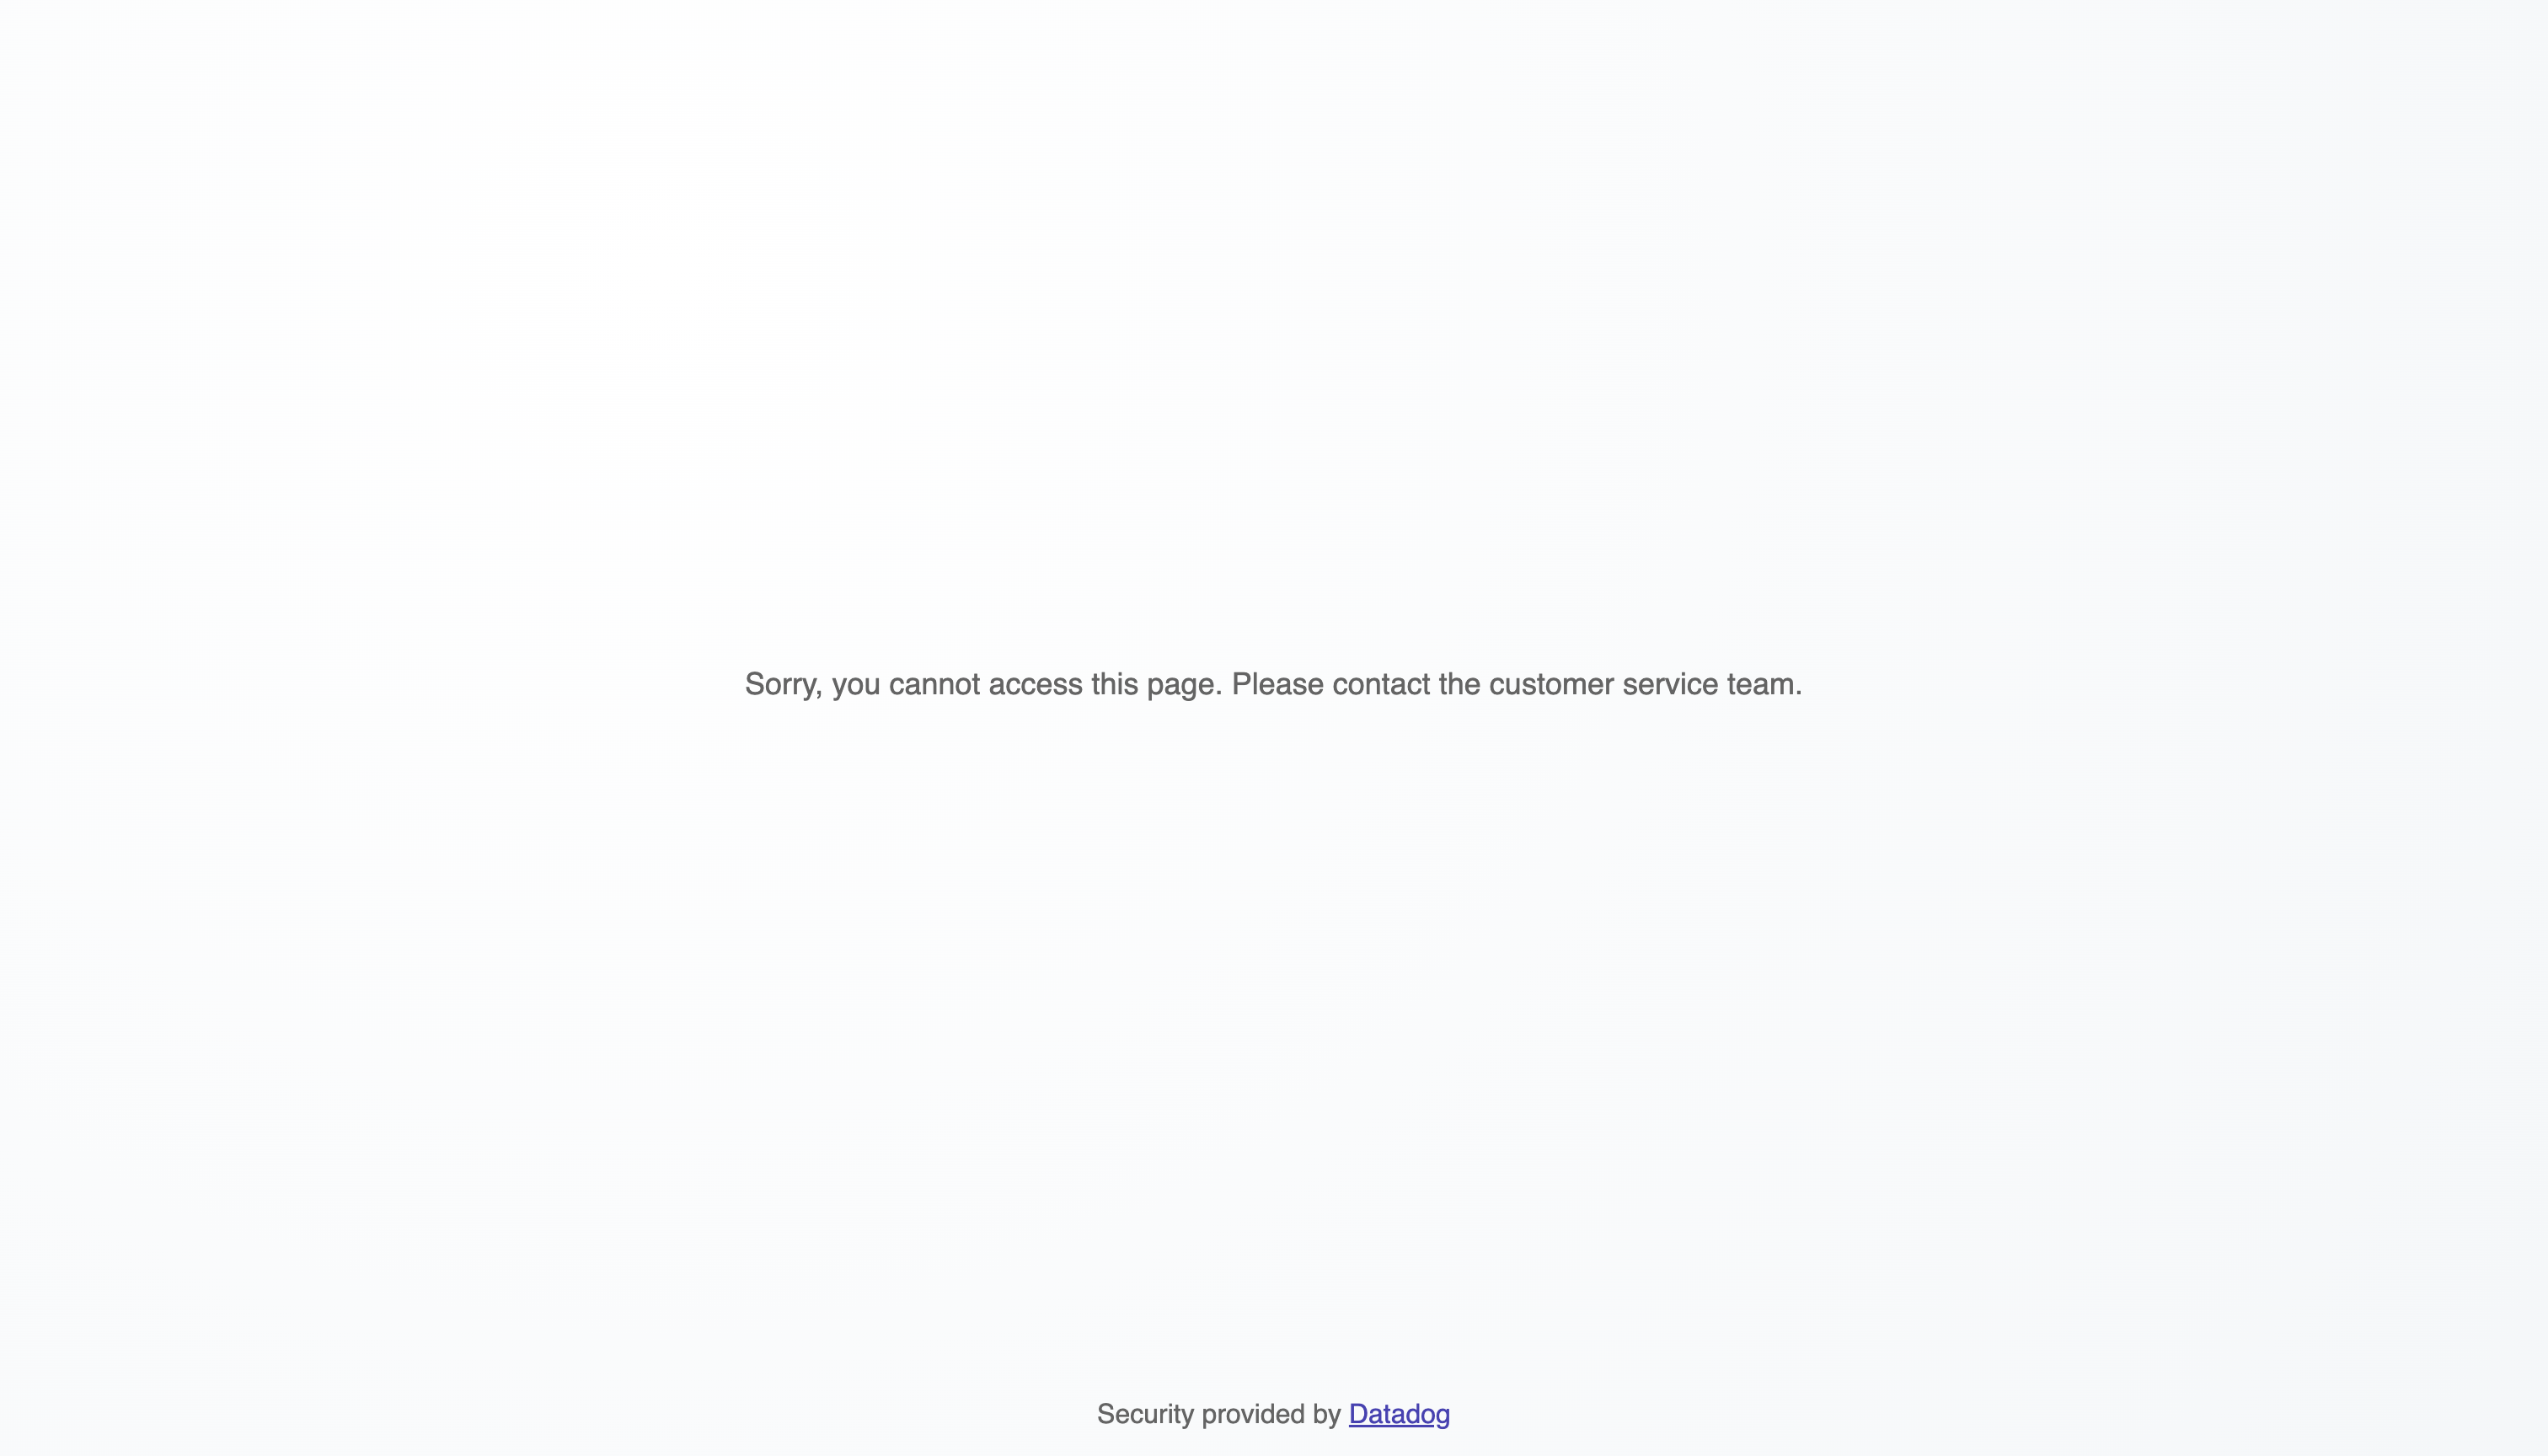
By default, the page shown in response to a blocked action looks like this:
The default HTTP response status code while serving the deny page to attackers is 403 FORBIDDEN. To customize the response, navigate to Security > Application Security > Protection > Summary.
拒否ページが提供されるときにレスポンスコードを 200 OK または 404 NOT FOUND にオーバーライドすることで、攻撃者が検出されブロックされた事実をオプションで隠すことができます。
また、オプションで攻撃者をカスタム拒否ページにリダイレクトさせ、重要なサービスやインフラストラクチャーから遠ざけることができます。リダイレクト URL とリダイレクトの種類 (例: 永久 (301 レスポンスコード) または一時 (302 レスポンスコード)) を指定します。
すべてのサービスで保護を無効にする (保護モードの無効化)
Protection mode is on by default and is a toggle available to quickly disable blocking across all your services. Requests can be blocked from two sections in Datadog: all attacker requests from Security Signals, and security traces from In-App WAF.
As important as it is for you to be able to apply protection granularly and reduce the likelihood of legitimate users getting blocked, you sometimes need a simple off switch to quickly stop all blocking across all services. To turn off protection, navigate to Security > Application Security > Protection > Summary and toggle Allow Request Blocking to off.
参考資料
お役に立つドキュメント、リンクや記事:


