- 重要な情報
- はじめに
- Datadog
- Datadog サイト
- DevSecOps
- AWS Lambda のサーバーレス
- エージェント
- インテグレーション
- コンテナ
- ダッシュボード
- アラート設定
- ログ管理
- トレーシング
- プロファイラー
- タグ
- API
- Service Catalog
- Session Replay
- Continuous Testing
- Synthetic モニタリング
- Incident Management
- Database Monitoring
- Cloud Security Management
- Cloud SIEM
- Application Security Management
- Workflow Automation
- CI Visibility
- Test Visibility
- Intelligent Test Runner
- Code Analysis
- Learning Center
- Support
- 用語集
- Standard Attributes
- ガイド
- インテグレーション
- エージェント
- OpenTelemetry
- 開発者
- 認可
- DogStatsD
- カスタムチェック
- インテグレーション
- Create an Agent-based Integration
- Create an API Integration
- Create a Log Pipeline
- Integration Assets Reference
- Build a Marketplace Offering
- Create a Tile
- Create an Integration Dashboard
- Create a Recommended Monitor
- Create a Cloud SIEM Detection Rule
- OAuth for Integrations
- Install Agent Integration Developer Tool
- サービスのチェック
- IDE インテグレーション
- コミュニティ
- ガイド
- API
- モバイルアプリケーション
- CoScreen
- Cloudcraft
- アプリ内
- Service Management
- インフラストラクチャー
- アプリケーションパフォーマンス
- APM
- Continuous Profiler
- データベース モニタリング
- Data Streams Monitoring
- Data Jobs Monitoring
- Digital Experience
- Software Delivery
- CI Visibility (CI/CDの可視化)
- CD Visibility
- Test Visibility
- Intelligent Test Runner
- Code Analysis
- Quality Gates
- DORA Metrics
- セキュリティ
- セキュリティの概要
- Cloud SIEM
- クラウド セキュリティ マネジメント
- Application Security Management
- AI Observability
- ログ管理
- Observability Pipelines(観測データの制御)
- ログ管理
- 管理
Troubleshooting Cloud Security Management Threats
このページは日本語には対応しておりません。随時翻訳に取り組んでいます。翻訳に関してご質問やご意見ございましたら、お気軽にご連絡ください。
Overview
If you experience issues with Cloud Security Management (CSM) Threats, use the following troubleshooting guidelines. If you need further assistance, contact Datadog support.
Security Agent flare
Similar to the Agent flare, you can send necessary troubleshooting information to the Datadog support team with one flare command.
The flare asks for confirmation before upload, so you may review the content before the Security Agent sends it.
In the commands below, replace <CASE_ID> with your Datadog support case ID if you have one, then enter the email address associated with it.
If you don’t have a case ID, just enter your email address used to login in Datadog to create a new support case.
| Platform | Command |
|---|---|
| Docker | docker exec -it datadog-agent security-agent flare <CASE_ID> |
| Kubernetes | kubectl exec -it <POD_NAME> -c security-agent -- security-agent flare <CASE_ID> |
| Host | sudo /opt/datadog-agent/embedded/bin/security-agent flare <CASE_ID> |
Agent Self tests
In order to ensure that the communication between the security-agent and the system-probe is working as expected and that Cloud Security Management Threats (CSM Threats) is able to detect system events, you can manually trigger self tests by running the following command:
| Platform | Command |
|---|---|
| Docker | docker exec -it datadog-agent security-agent runtime self-test |
| Kubernetes | kubectl exec -it <POD_NAME> -c security-agent -- security-agent runtime self-test |
| Host | sudo /opt/datadog-agent/embedded/bin/security-agent runtime self-test |
The self-test procedure creates some temporary files and rules to monitor them, and then triggers those rules to ensure that events are correctly propagated.
The following response appears when rules are propagated.
Runtime self test: OK
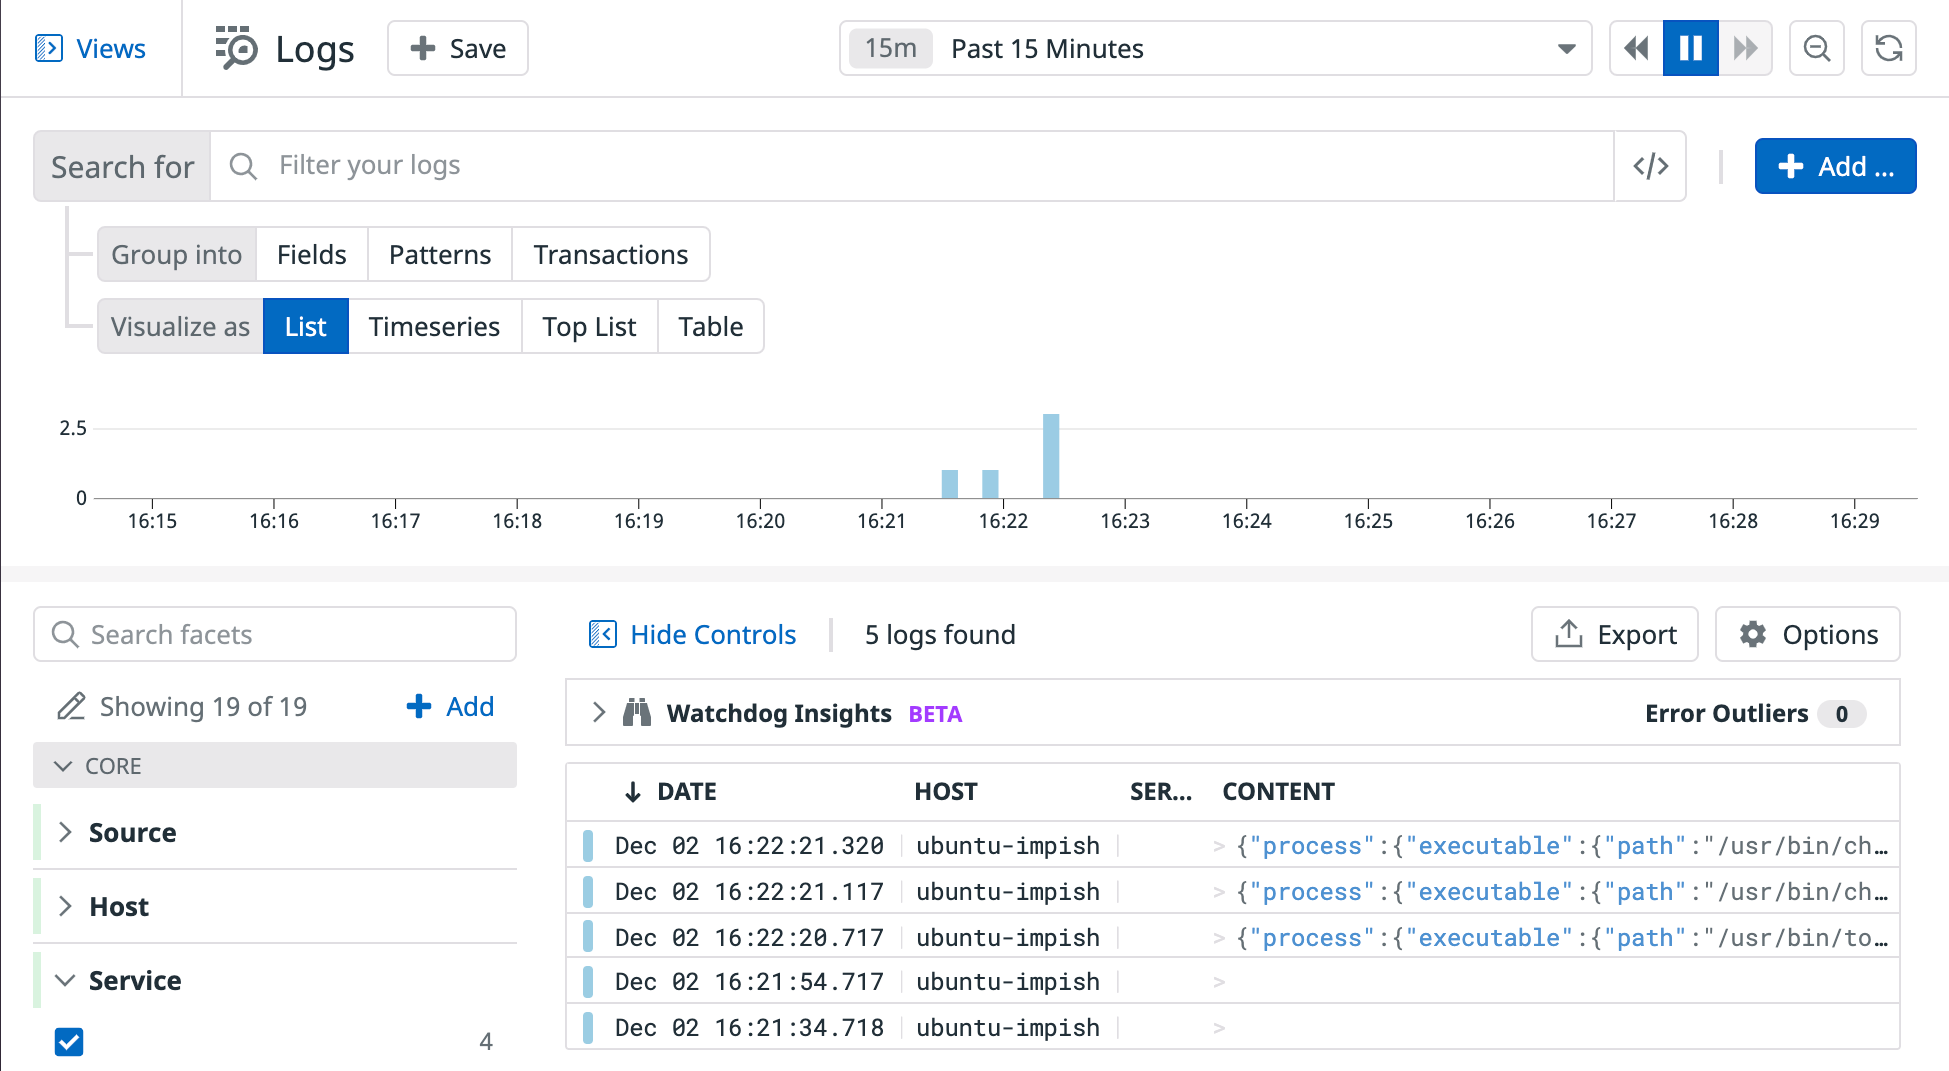
You can now see events coming from the runtime-security-agent in the Log Explorer.
Compatibility with custom Kubernetes network plugins
The network based detections of CSM Threats rely on the traffic control sub-system of the Linux kernel. This sub-system is known to introduce race conditions if multiple vendors try to insert, replace, or delete filters on the “clsact” ingress qdisc. Follow the checklist below to ensure that CSM Threats is properly configured:
- Check if your vendor leverages eBPF traffic control classifiers. If they do not, you can ignore this paragraph.
- Check if your vendor returns TC_ACT_OK or TC_ACT_UNSPEC after granting access to a network packet. If they return TC_ACT_UNSPEC, you can ignore this paragraph.
- Check which priority your vendor attaches their eBPF classifiers to:
- If they use priority 1, CSM Threats network detections do not work inside your containers.
- If they use priority 2 to 10, make sure to configure
runtime_security_config.network.classifier_priorityto a number strictly below the priority chosen by your vendor. - If they use priority 11 or higher, you can ignore this paragraph.
For example, there is a known race with Cilium 1.9 and lower with the Datadog Agent (version 7.36 to 7.39.1, 7.39.2 excluded) that may happen when a new pod is started. The race can lead to loss of connectivity inside the pod, depending on how Cilium is configured.
Ultimately, if the Datadog Agent or your third party vendors cannot be configured to prevent the issue from happening, you should disable the network based detections of CSM Threats by following the steps below:
- Add the following parameter to your
system-probe.yamlconfiguration file on host based installations:
runtime_security_config:
  network:
    enabled: false
- Add the following values if you’re using the public Helm Chart to deploy the Datadog Agent:
datadog:
  securityAgent:
    runtime:
      network:
        enabled: false
- Add the following environment variable if you’re deploying the Datadog Agent container manually:
DD_RUNTIME_SECURITY_CONFIG_NETWORK_ENABLED=false
Further Reading
お役に立つドキュメント、リンクや記事:

