- 重要な情報
- はじめに
- Datadog
- Datadog サイト
- DevSecOps
- AWS Lambda のサーバーレス
- エージェント
- インテグレーション
- コンテナ
- ダッシュボード
- アラート設定
- ログ管理
- トレーシング
- プロファイラー
- タグ
- API
- Service Catalog
- Session Replay
- Continuous Testing
- Synthetic モニタリング
- Incident Management
- Database Monitoring
- Cloud Security Management
- Cloud SIEM
- Application Security Management
- Workflow Automation
- CI Visibility
- Test Visibility
- Intelligent Test Runner
- Code Analysis
- Learning Center
- Support
- 用語集
- Standard Attributes
- ガイド
- インテグレーション
- エージェント
- OpenTelemetry
- 開発者
- 認可
- DogStatsD
- カスタムチェック
- インテグレーション
- Create an Agent-based Integration
- Create an API Integration
- Create a Log Pipeline
- Integration Assets Reference
- Build a Marketplace Offering
- Create a Tile
- Create an Integration Dashboard
- Create a Recommended Monitor
- Create a Cloud SIEM Detection Rule
- OAuth for Integrations
- Install Agent Integration Developer Tool
- サービスのチェック
- IDE インテグレーション
- コミュニティ
- ガイド
- API
- モバイルアプリケーション
- CoScreen
- Cloudcraft
- アプリ内
- Service Management
- インフラストラクチャー
- アプリケーションパフォーマンス
- APM
- Continuous Profiler
- データベース モニタリング
- Data Streams Monitoring
- Data Jobs Monitoring
- Digital Experience
- Software Delivery
- CI Visibility (CI/CDの可視化)
- CD Visibility
- Test Visibility
- Intelligent Test Runner
- Code Analysis
- Quality Gates
- DORA Metrics
- セキュリティ
- セキュリティの概要
- Cloud SIEM
- クラウド セキュリティ マネジメント
- Application Security Management
- AI Observability
- ログ管理
- Observability Pipelines(観測データの制御)
- ログ管理
- 管理
Datadog UI Extensions
このページは日本語には対応しておりません。随時翻訳に取り組んでいます。翻訳に関してご質問やご意見ございましたら、お気軽にご連絡ください。
What is a UI Extension?
UI Extensions enable developers to extend the native functionality of Datadog through custom dashboard widgets. For example, if there is a data visualization you want that Datadog does not support, or a common remediation workflow you execute in a third-party platform, you could write a UI Extension to extend this functionality within Datadog.
Setup
Set up your local development environment
Create a Datadog app for your UI Extension:
yarn create @datadog/appNavigate to the folder you have created:
cd starter-kitSet up your development environment:
yarn start
This starts your local development server on http://localhost:3000/.
If you see the following message, your application is running:
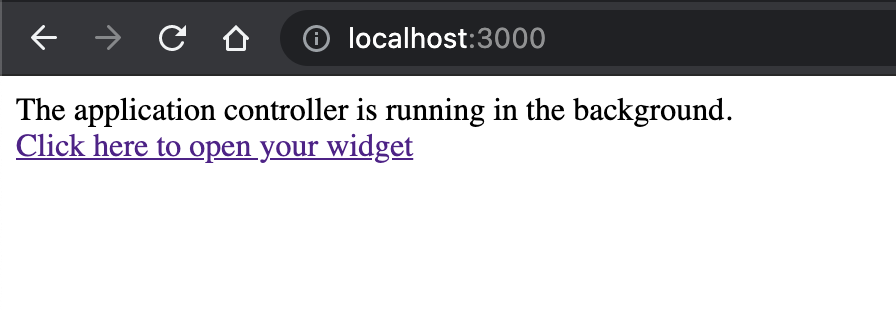
Note that there are two pages:
http://localhost:3000: A main controller that orchestrates all of your different extensions (such as widgets, menus, or modals). It will come in handy as you enrich app functionality.http://localhost:3000/widget: Components for widgets, modals, or anything that needs a dedicated display.
See the Developer Platform Developer Guide for details about this architecture.
You may notice an uncaught HandshakeTimeoutError in your JavaScript Console when you interact with the local widget in your browser directly. This is expected. The Datadog Apps SDK is designed to run in an iframe that connects to the Datadog User Interface and the handshake attempt between the widget and the Datadog UI will timeout when there is no Datadog UI for the SDK has to communicate with.
Add your app to the Developer Platform
Navigate to Integrations > Developer Platform and click + New App.
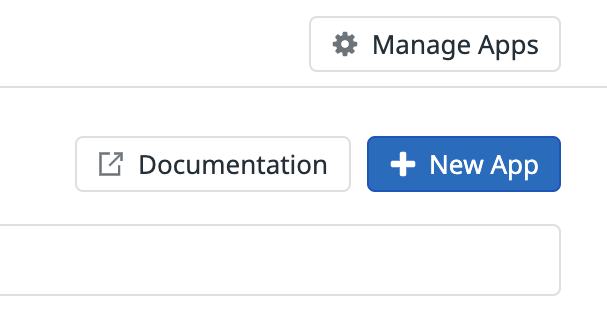
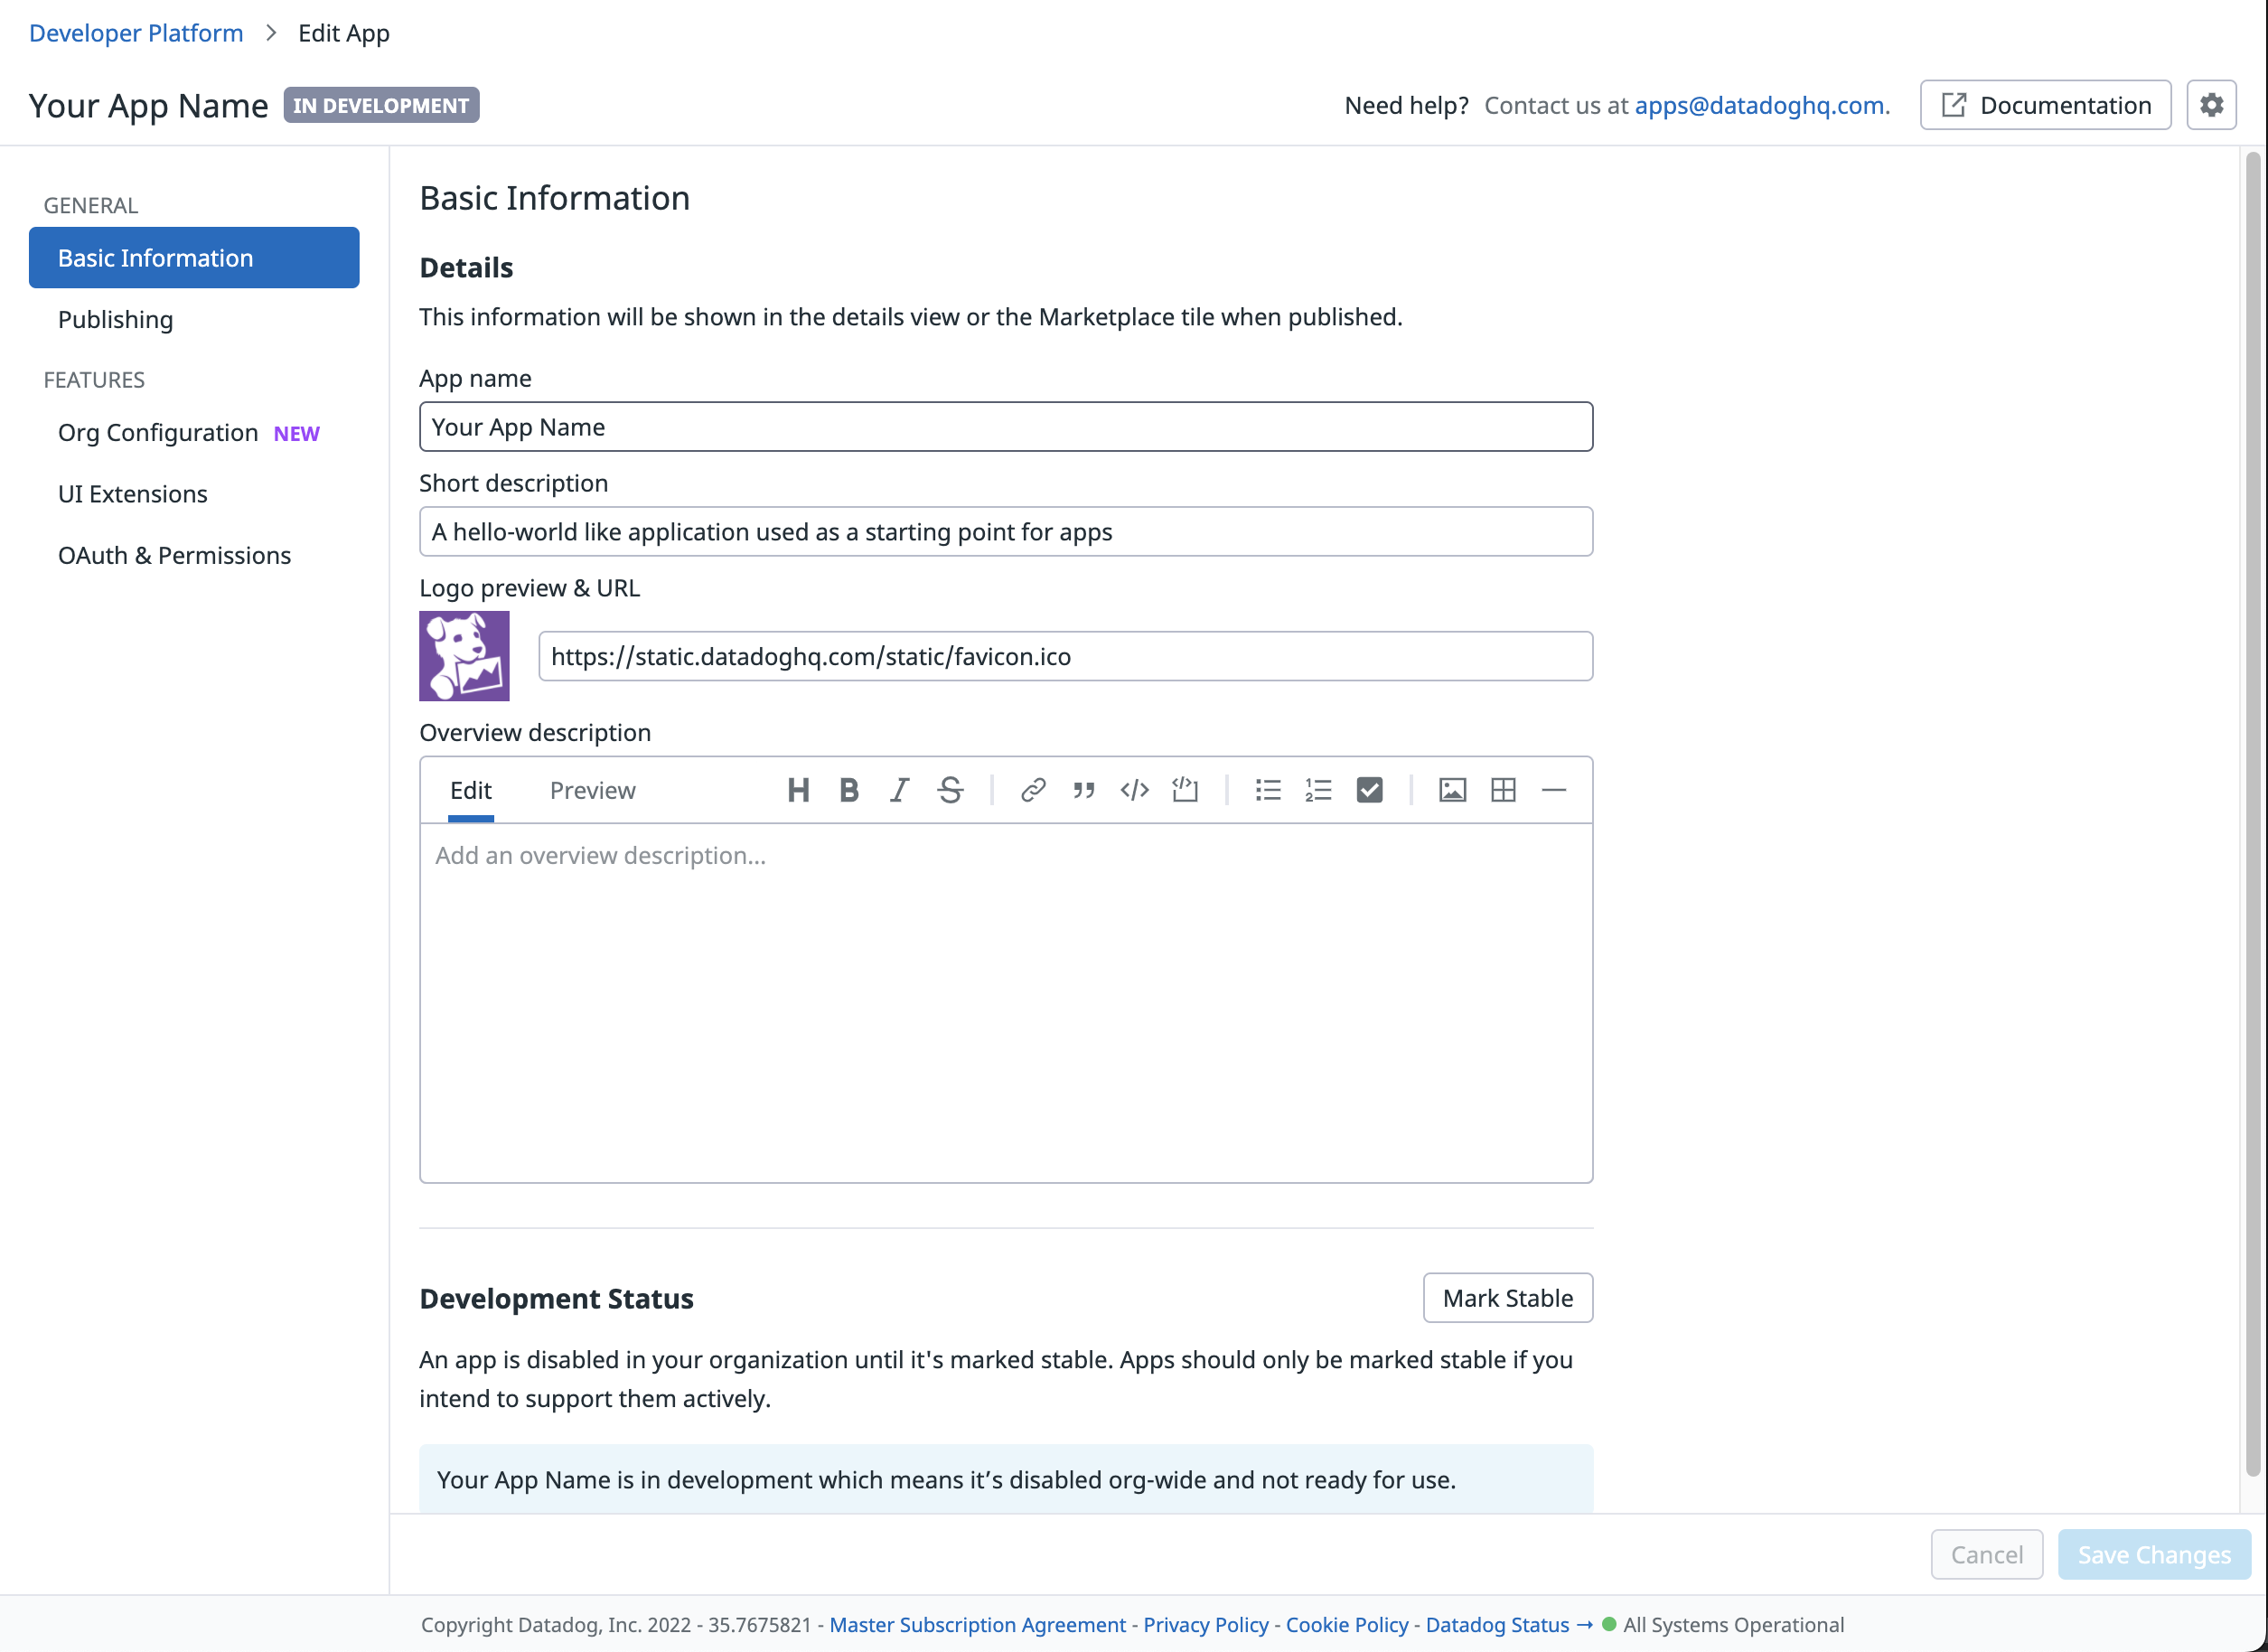
Enter a unique name for your application.
Optionally, once you’re presented with the dashboard for your new application, you can change the app name, give the app a more detailed description, or change its icon.
Add your app to a dashboard
Before you can add your app to a dashboard, you must enable it by clicking on UI Extensions.

Once this view loads, click on the Enable UI Extensions button.
Once you’re presented with more options for your app, change the Root URL and Debug Mode Root URL to match the
localhostversion of the widget you’re running. The main controller path is/widget. These URL values will change as you build your application and begin to host it on your own infrastructure.Turn the toggle to Dashboard Custom Widget on. This generates JSON for the app.
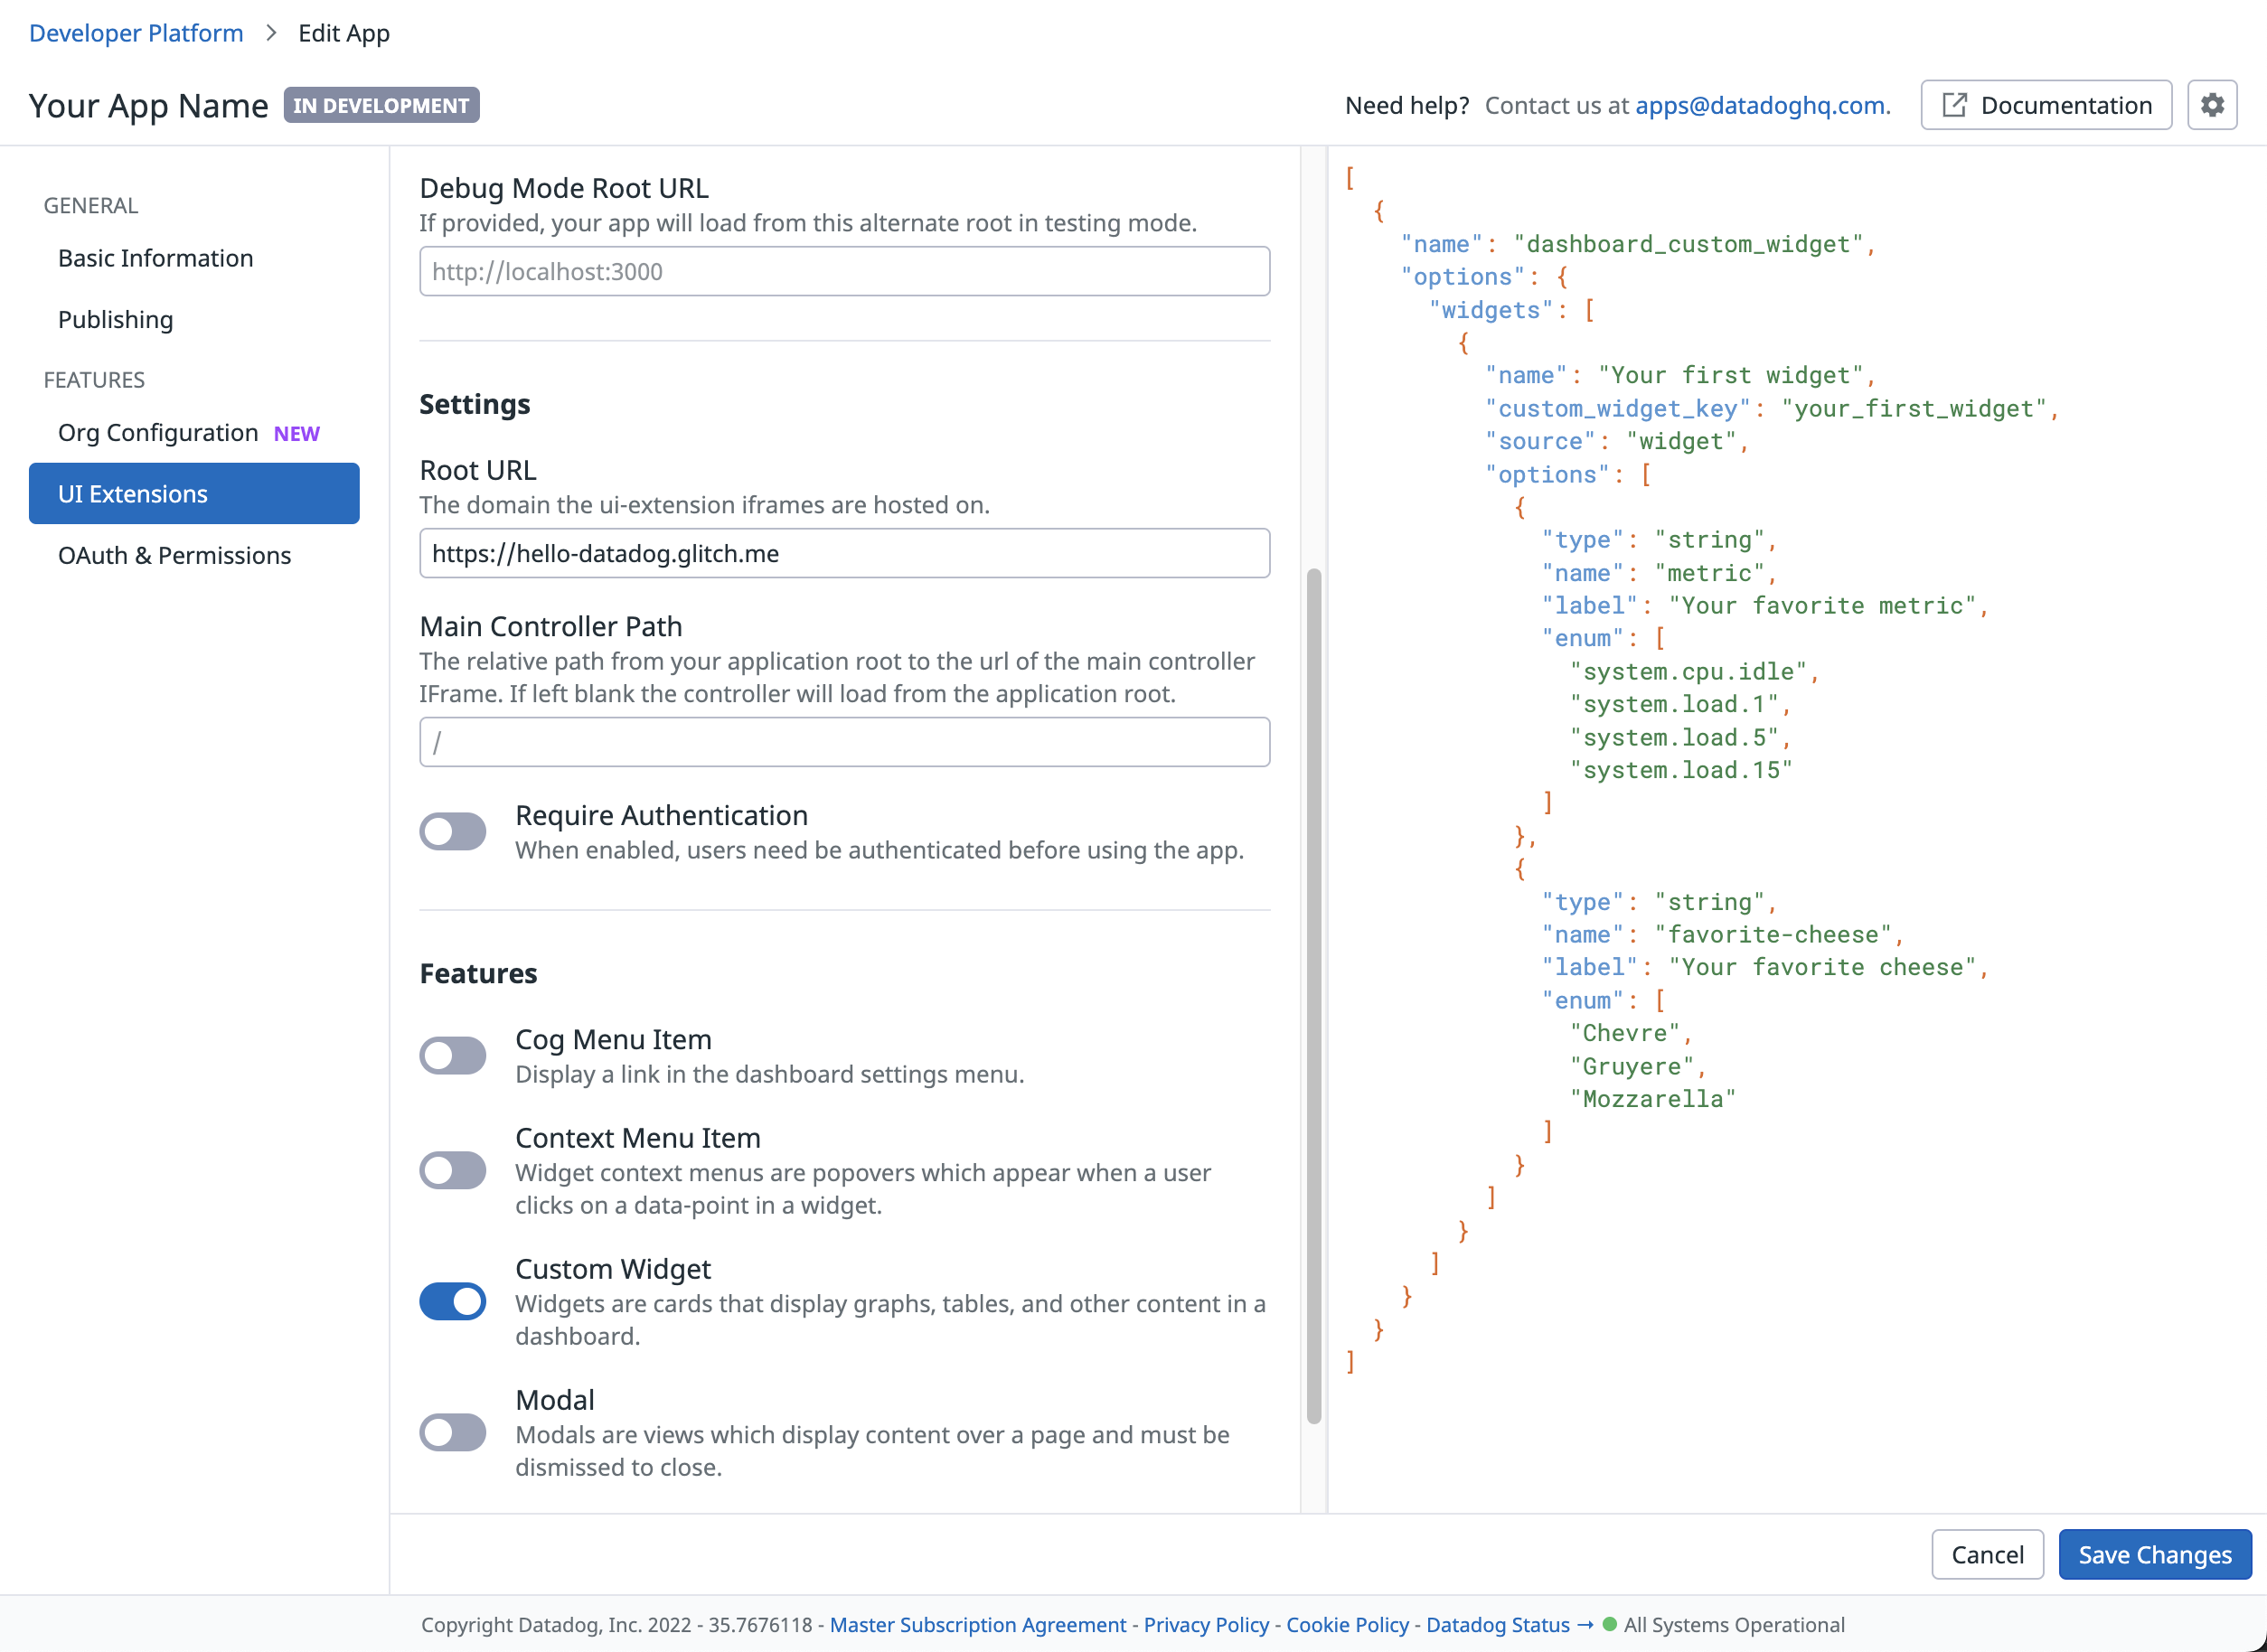
In this example, the JSON output contains a value called
Your first widget. This is the name of your widget as it appears in the menu to add to your Dashboards.Navigate to your dashboard and add a widget.
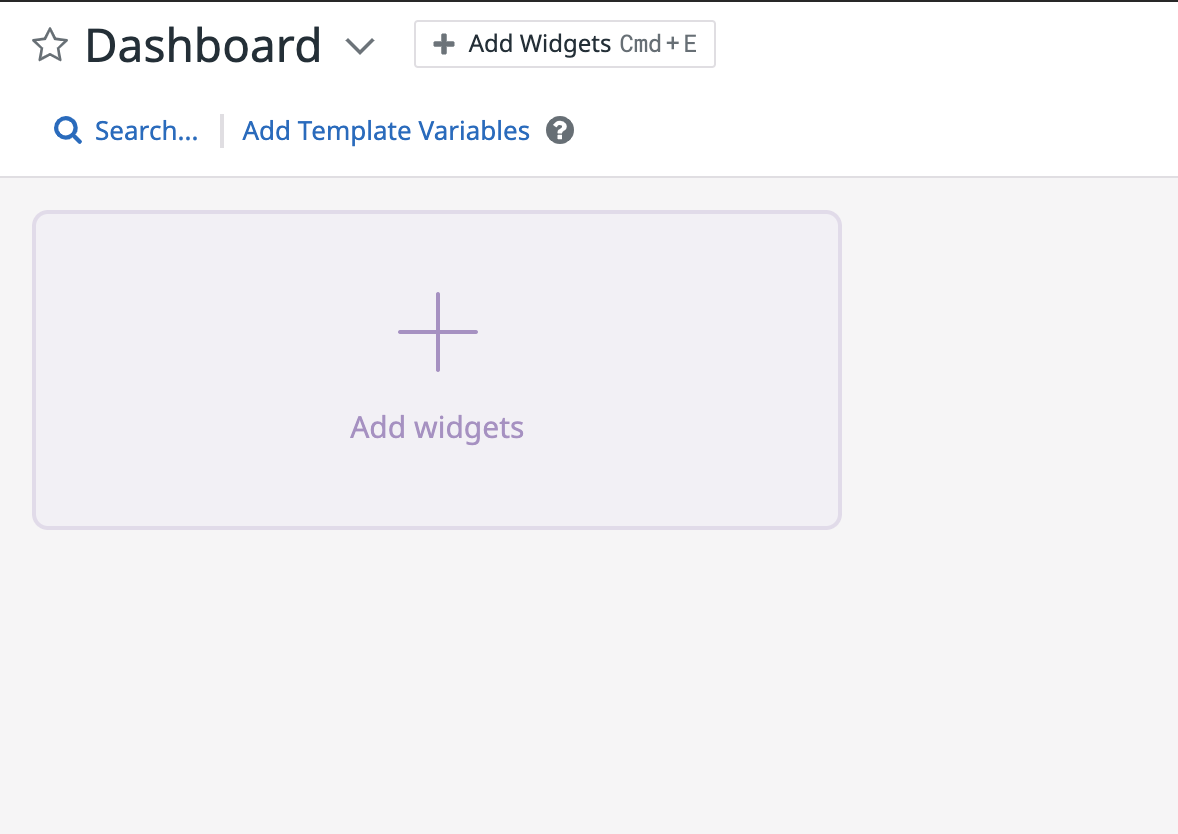
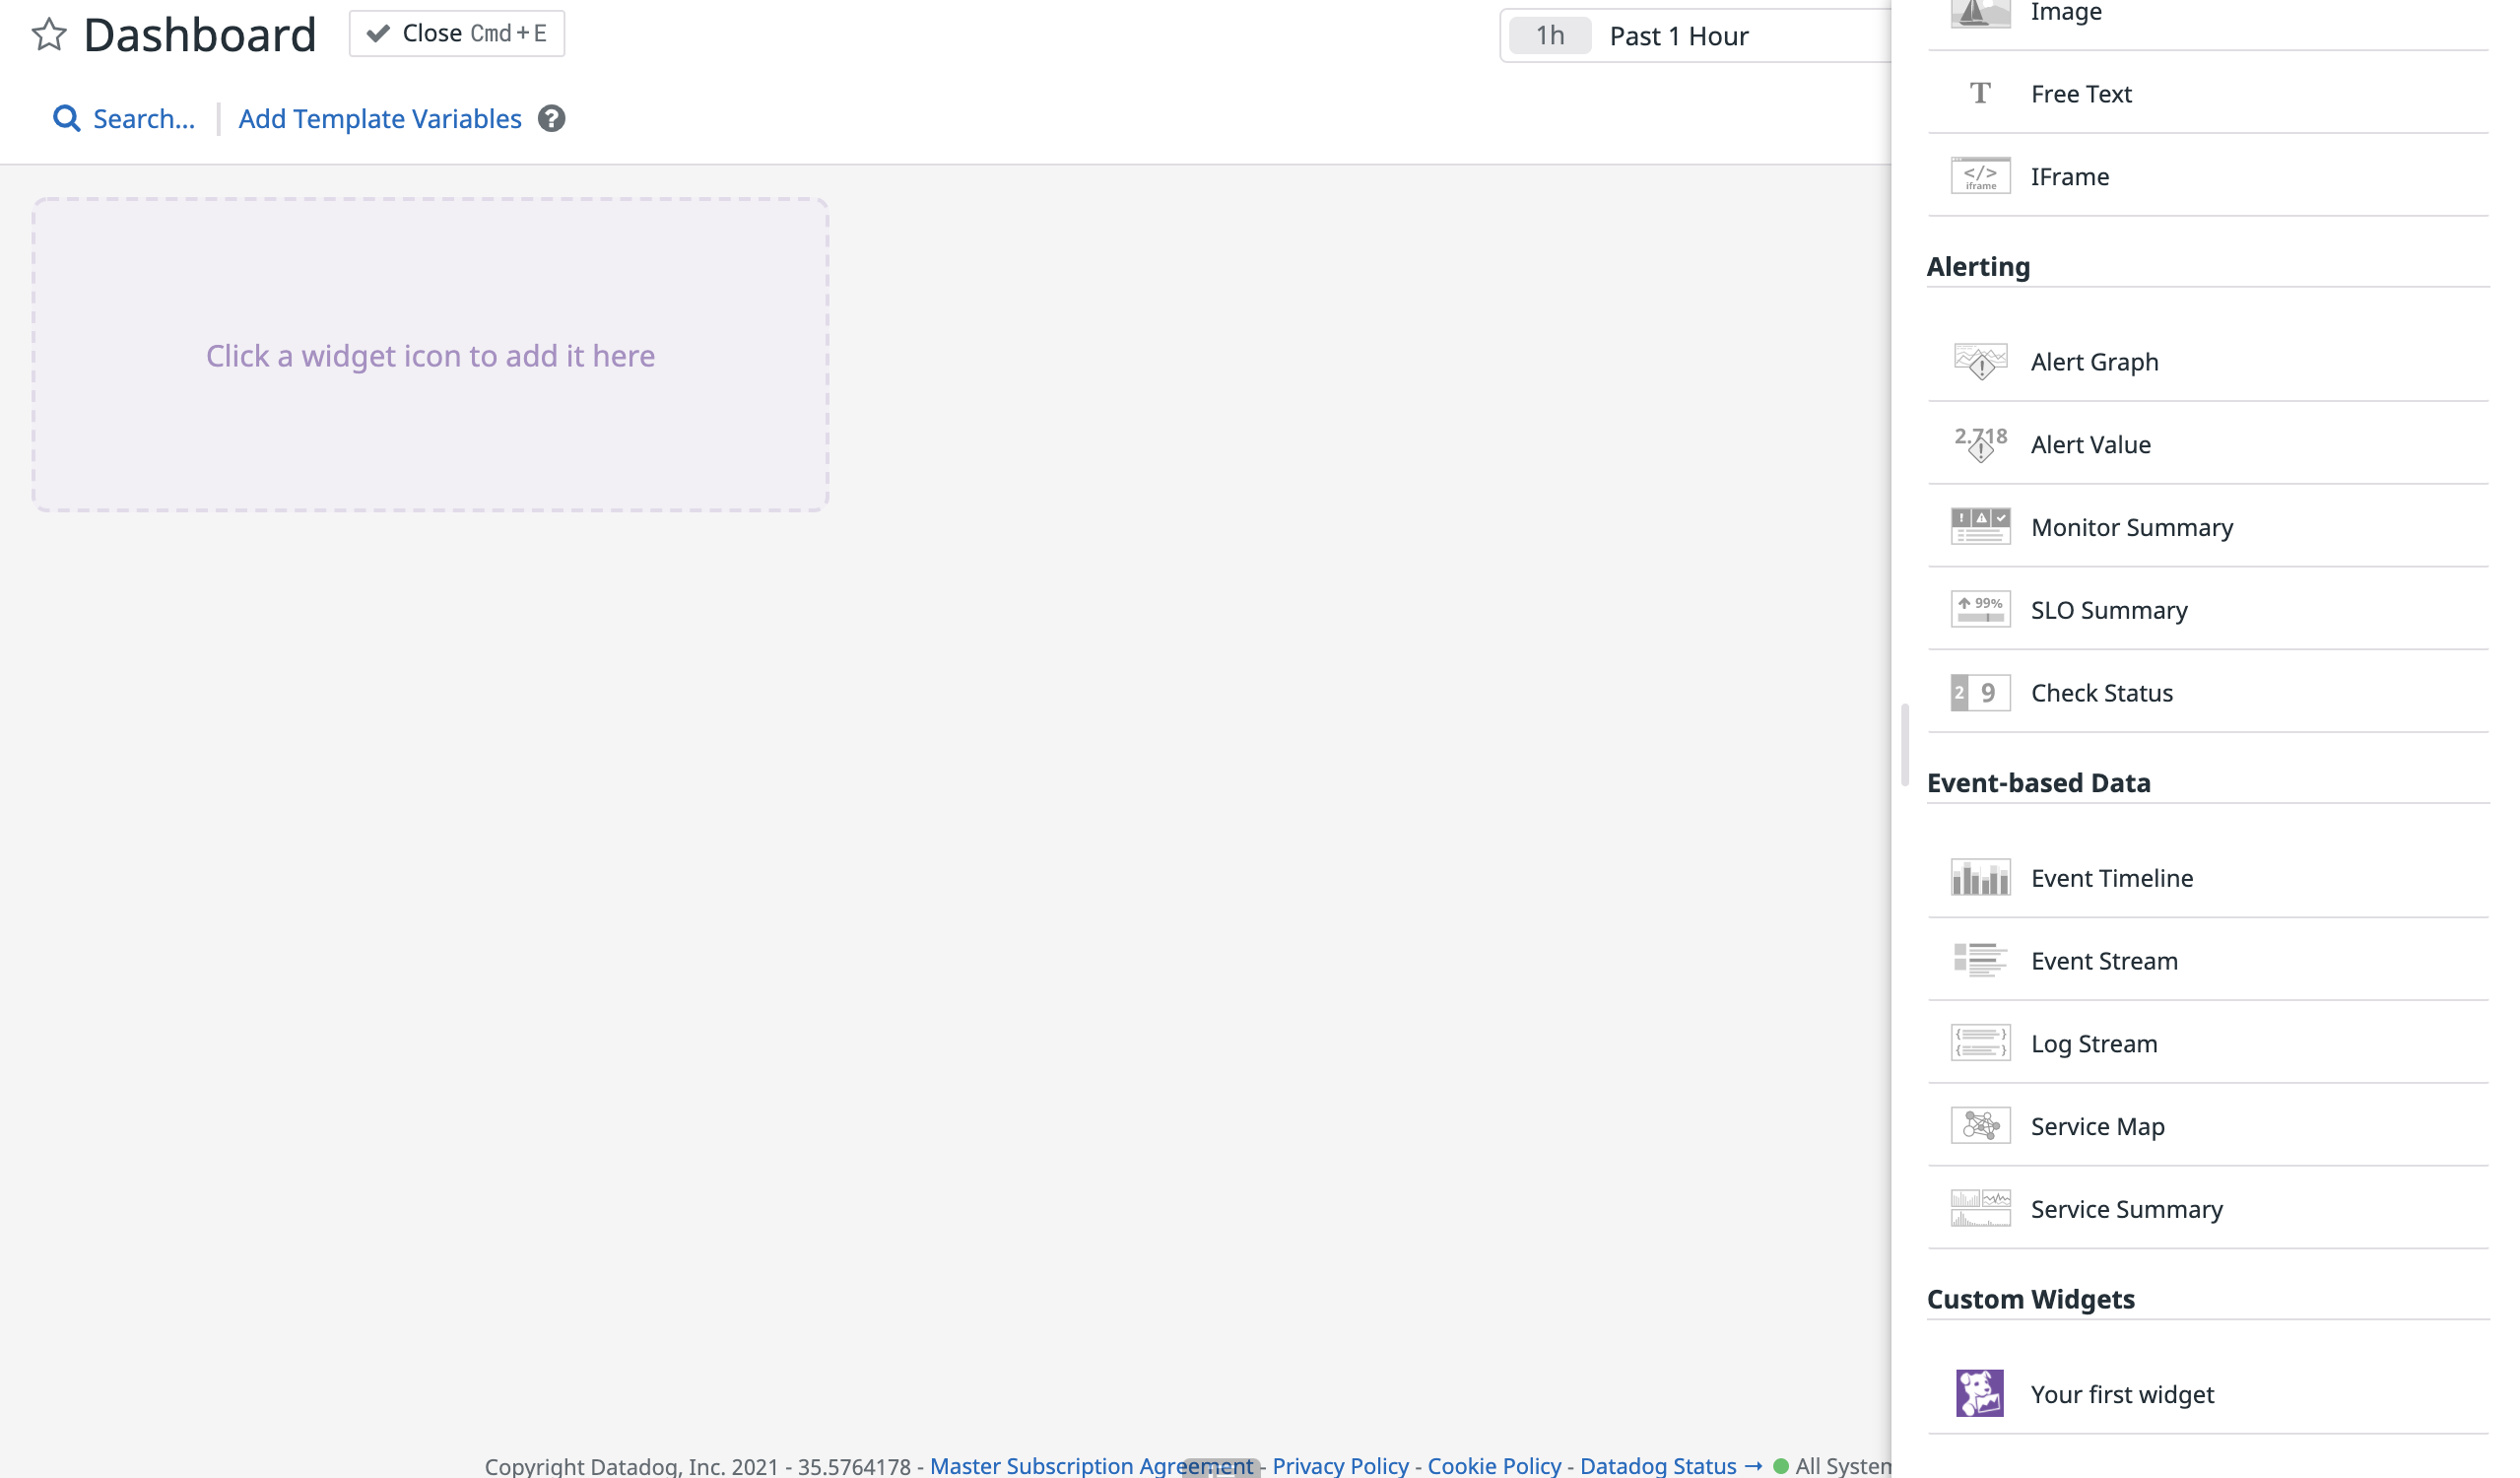
The Custom Widgets section is at the bottom of the sidebar. Find your widget in the list and add it to your dashboard.
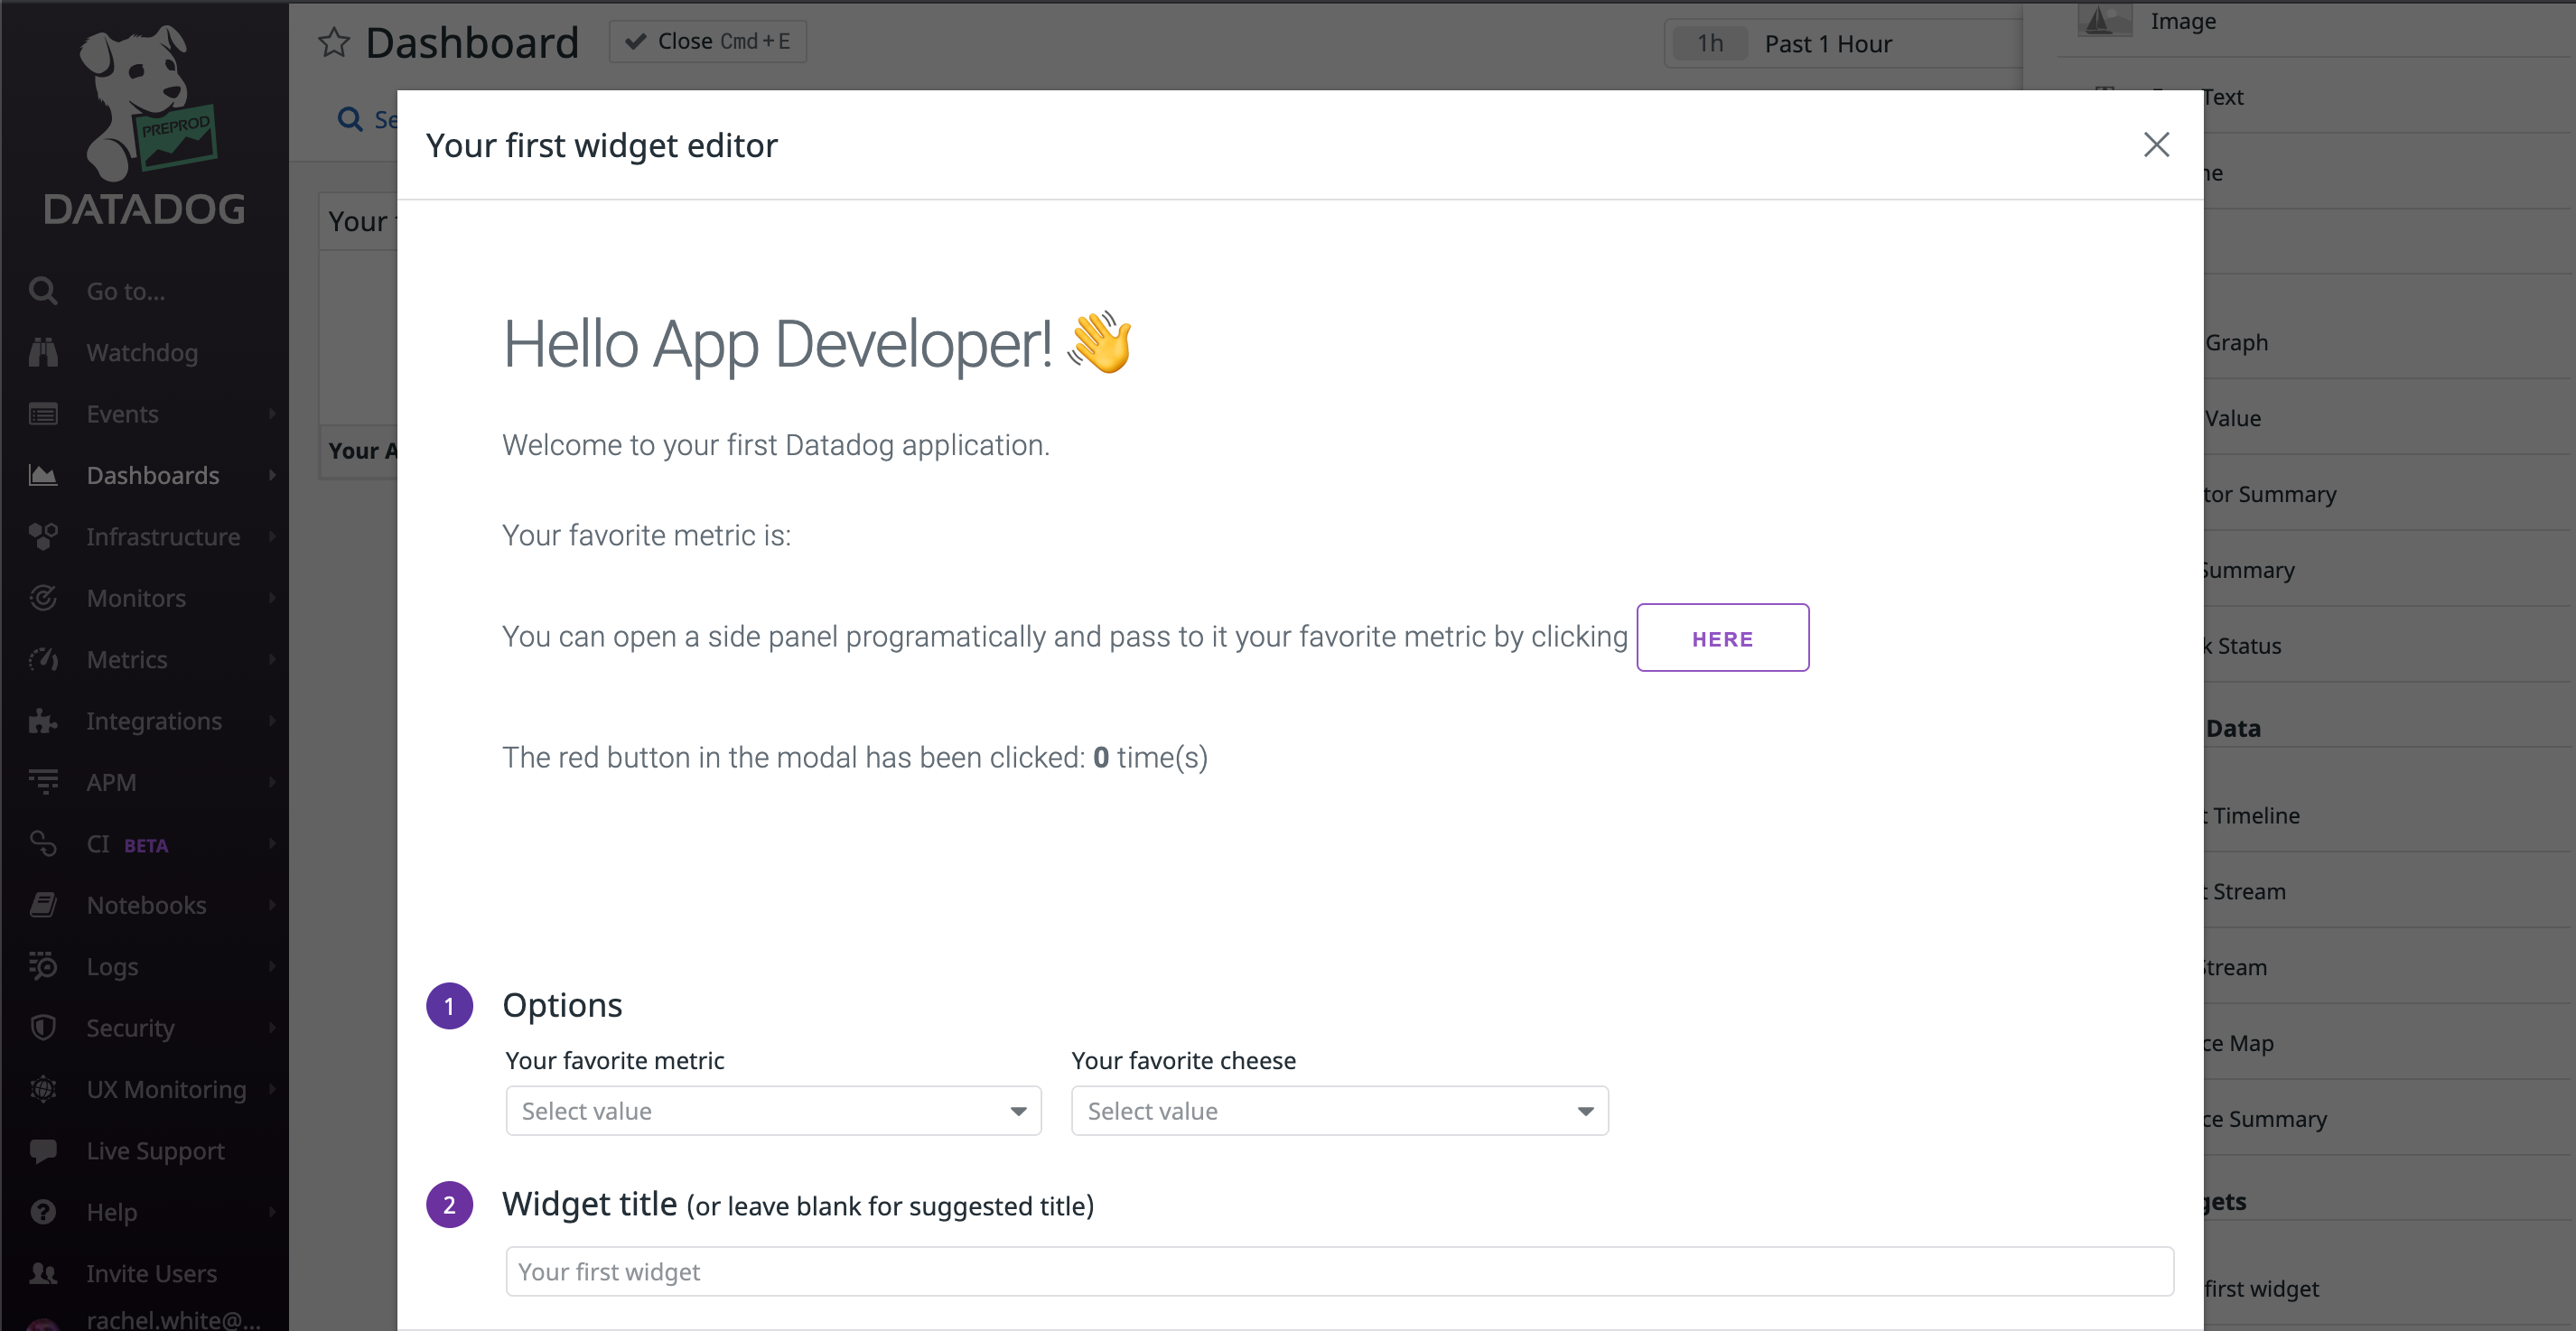
A preview of your new widget appears, along with some options. Scroll down and click Done to add it to your dashboard.
To build your application, run
yarn buildin your terminal. Then, move your static generated site to the hosting platform of your choice and update the URLs in the app settings.
OAuth API Access
When OAuth API Access is enabled, users need to be authenticated before using the app. This feature allows you to integrate your existing authentication mechanism (for example, cookie-based username and password login) with the Developer Platform.
